
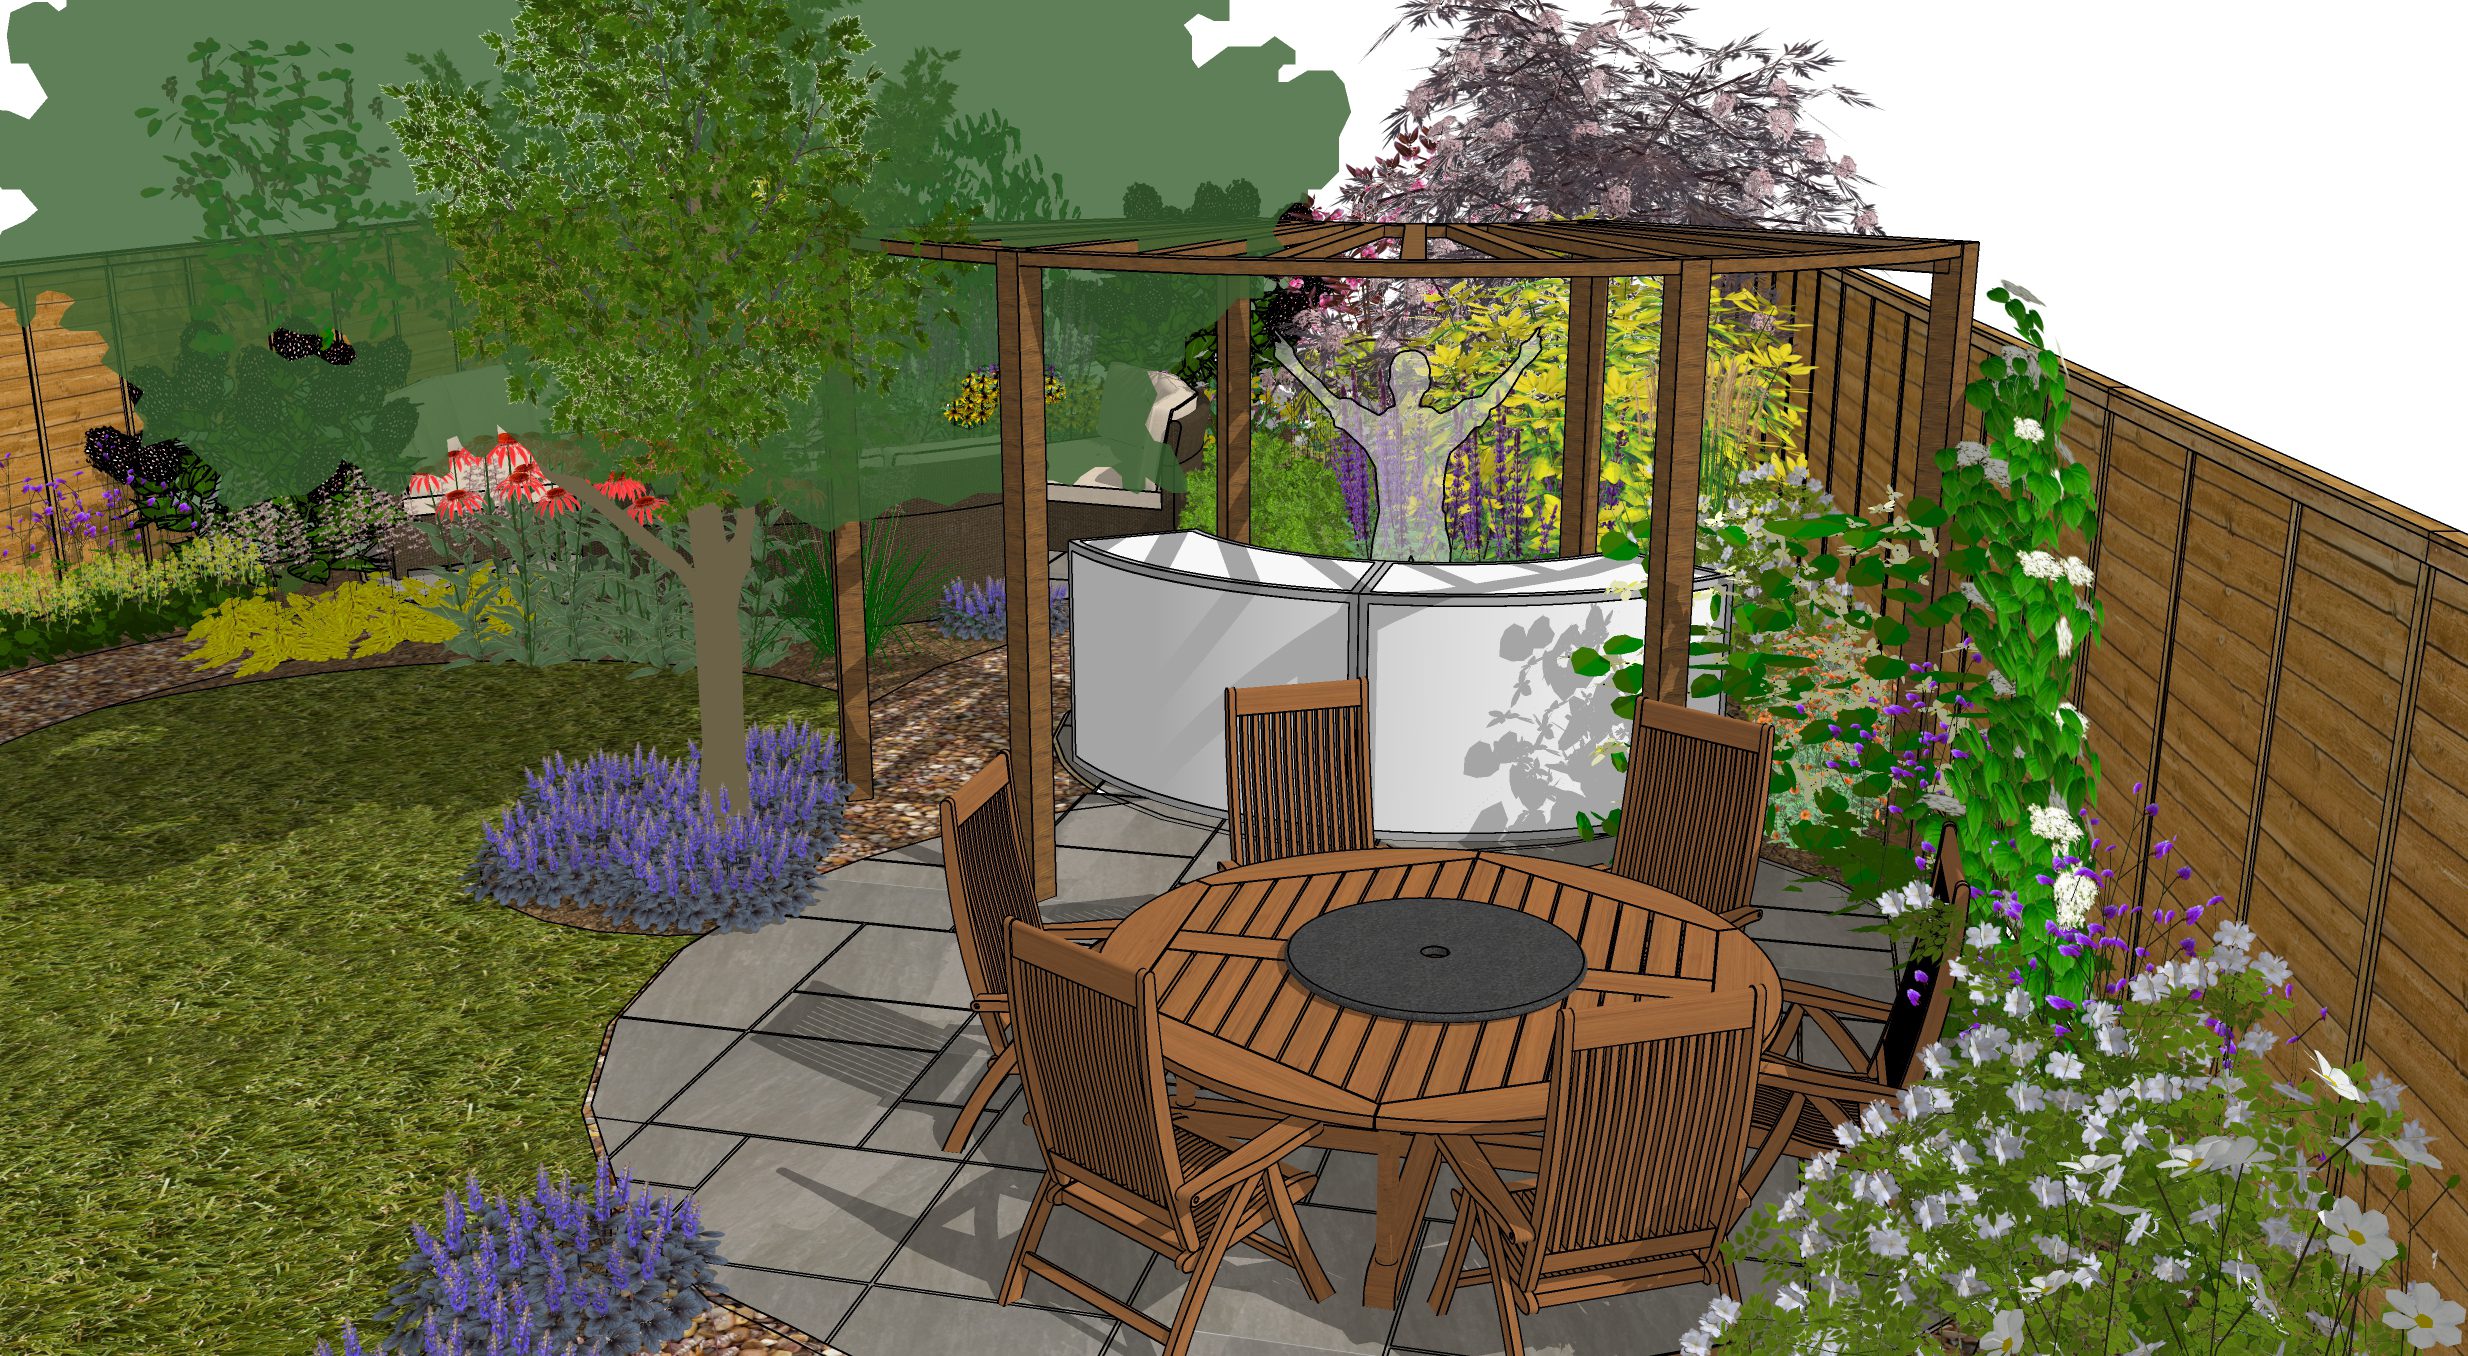
Walthamstow Garden Design – ED461
Walthamstow Garden Design Brief The client has previously attempted to clear and landscape the long rear garden of

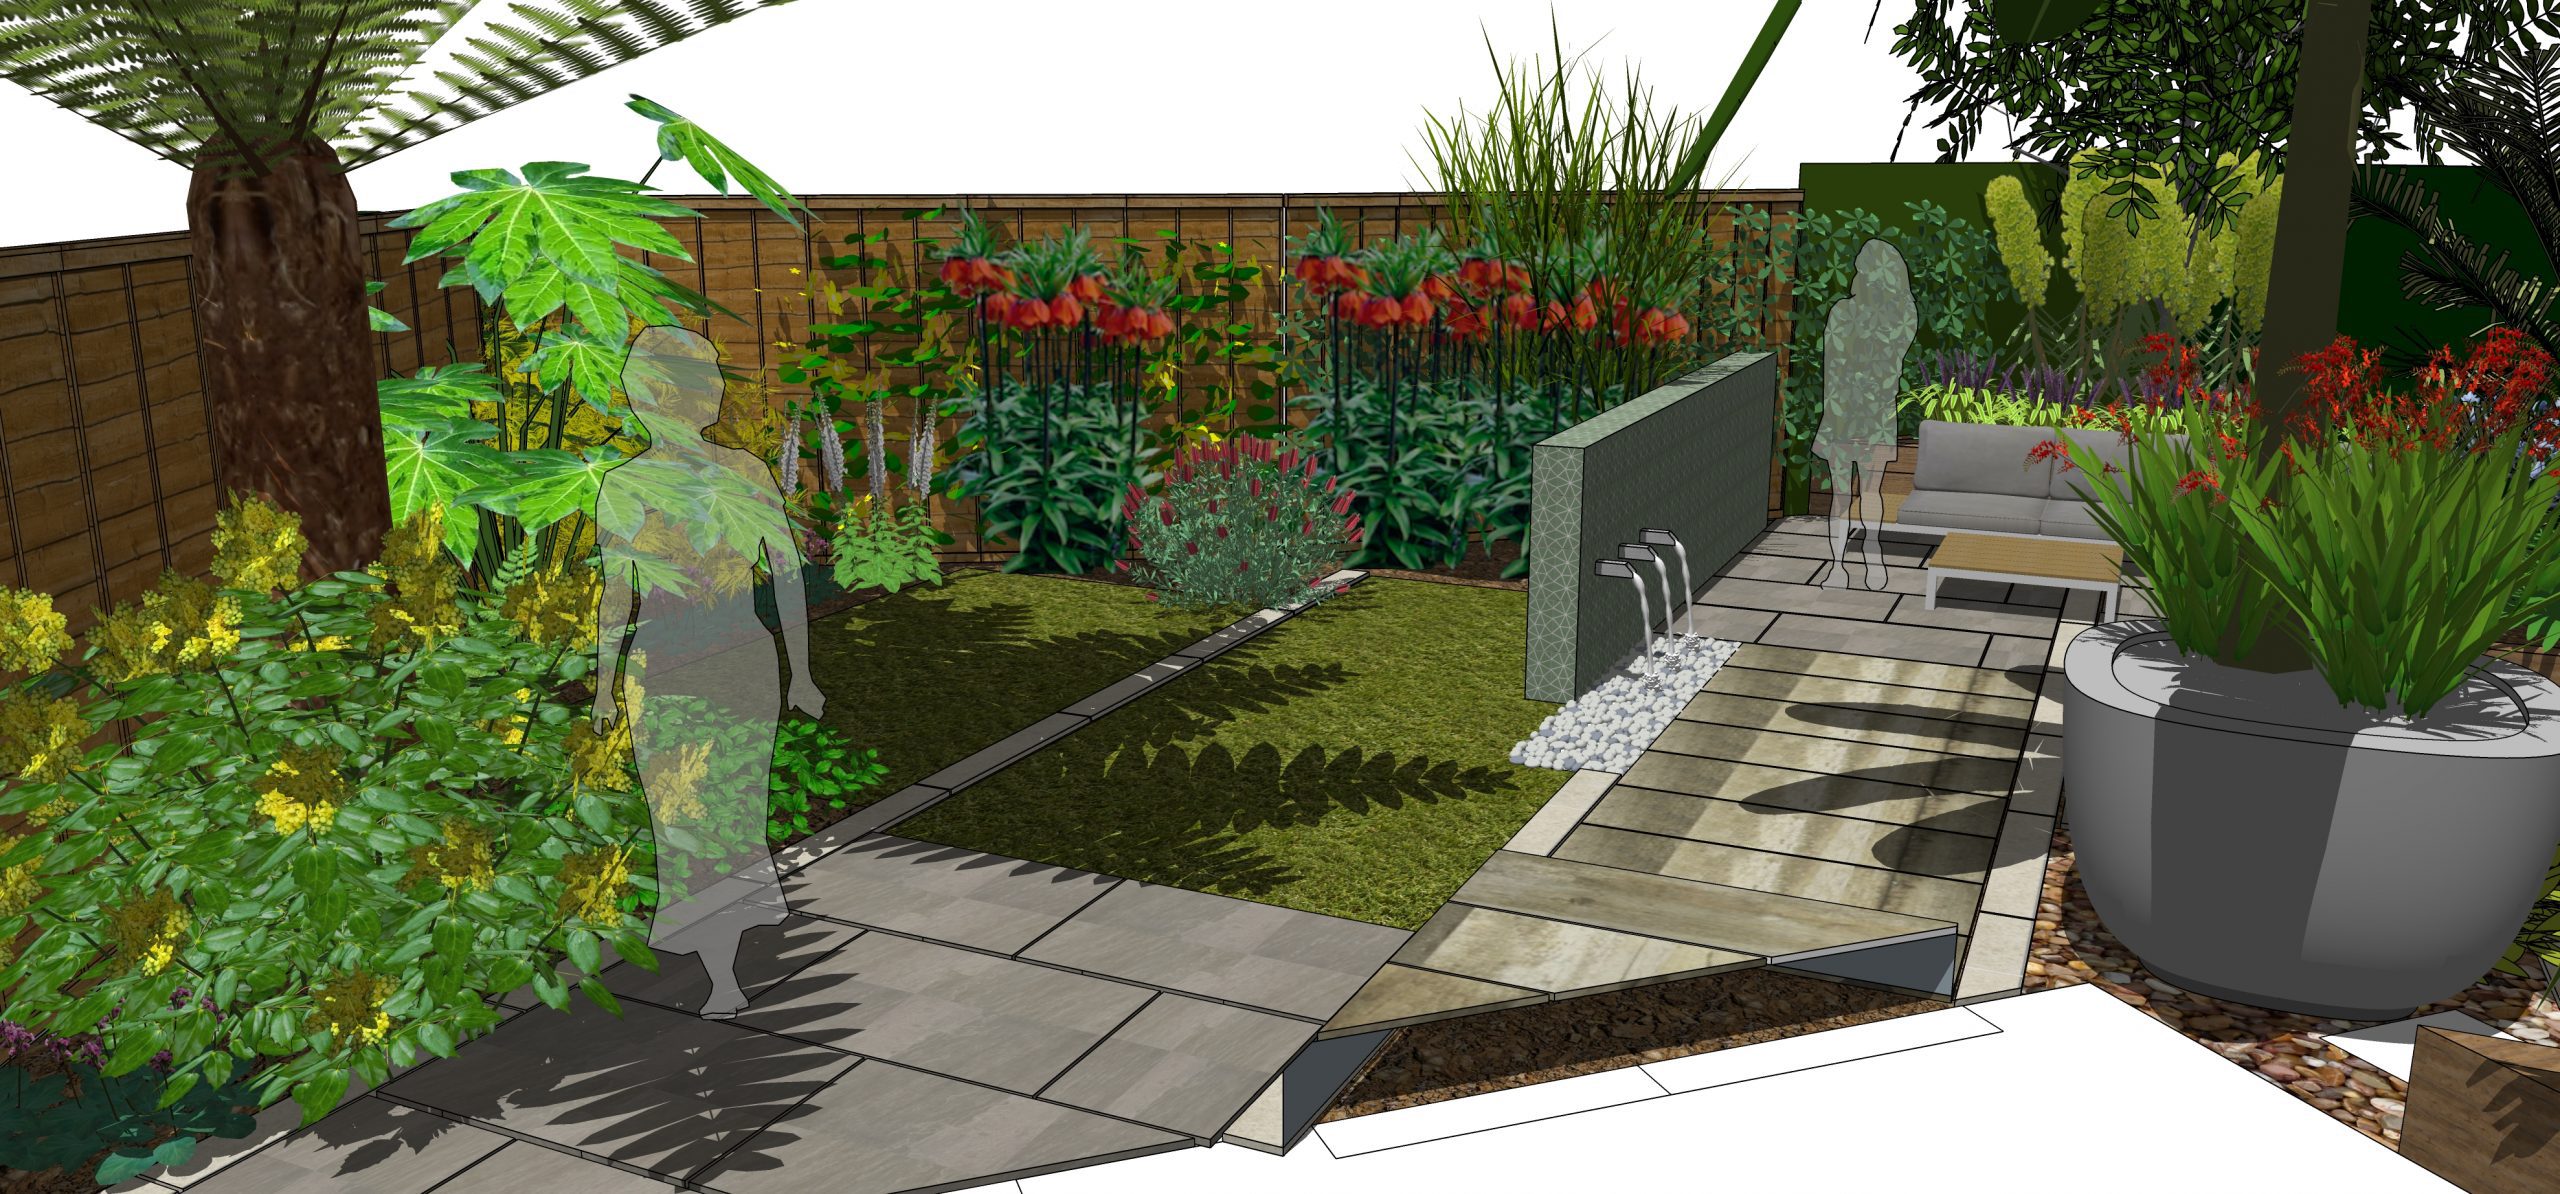
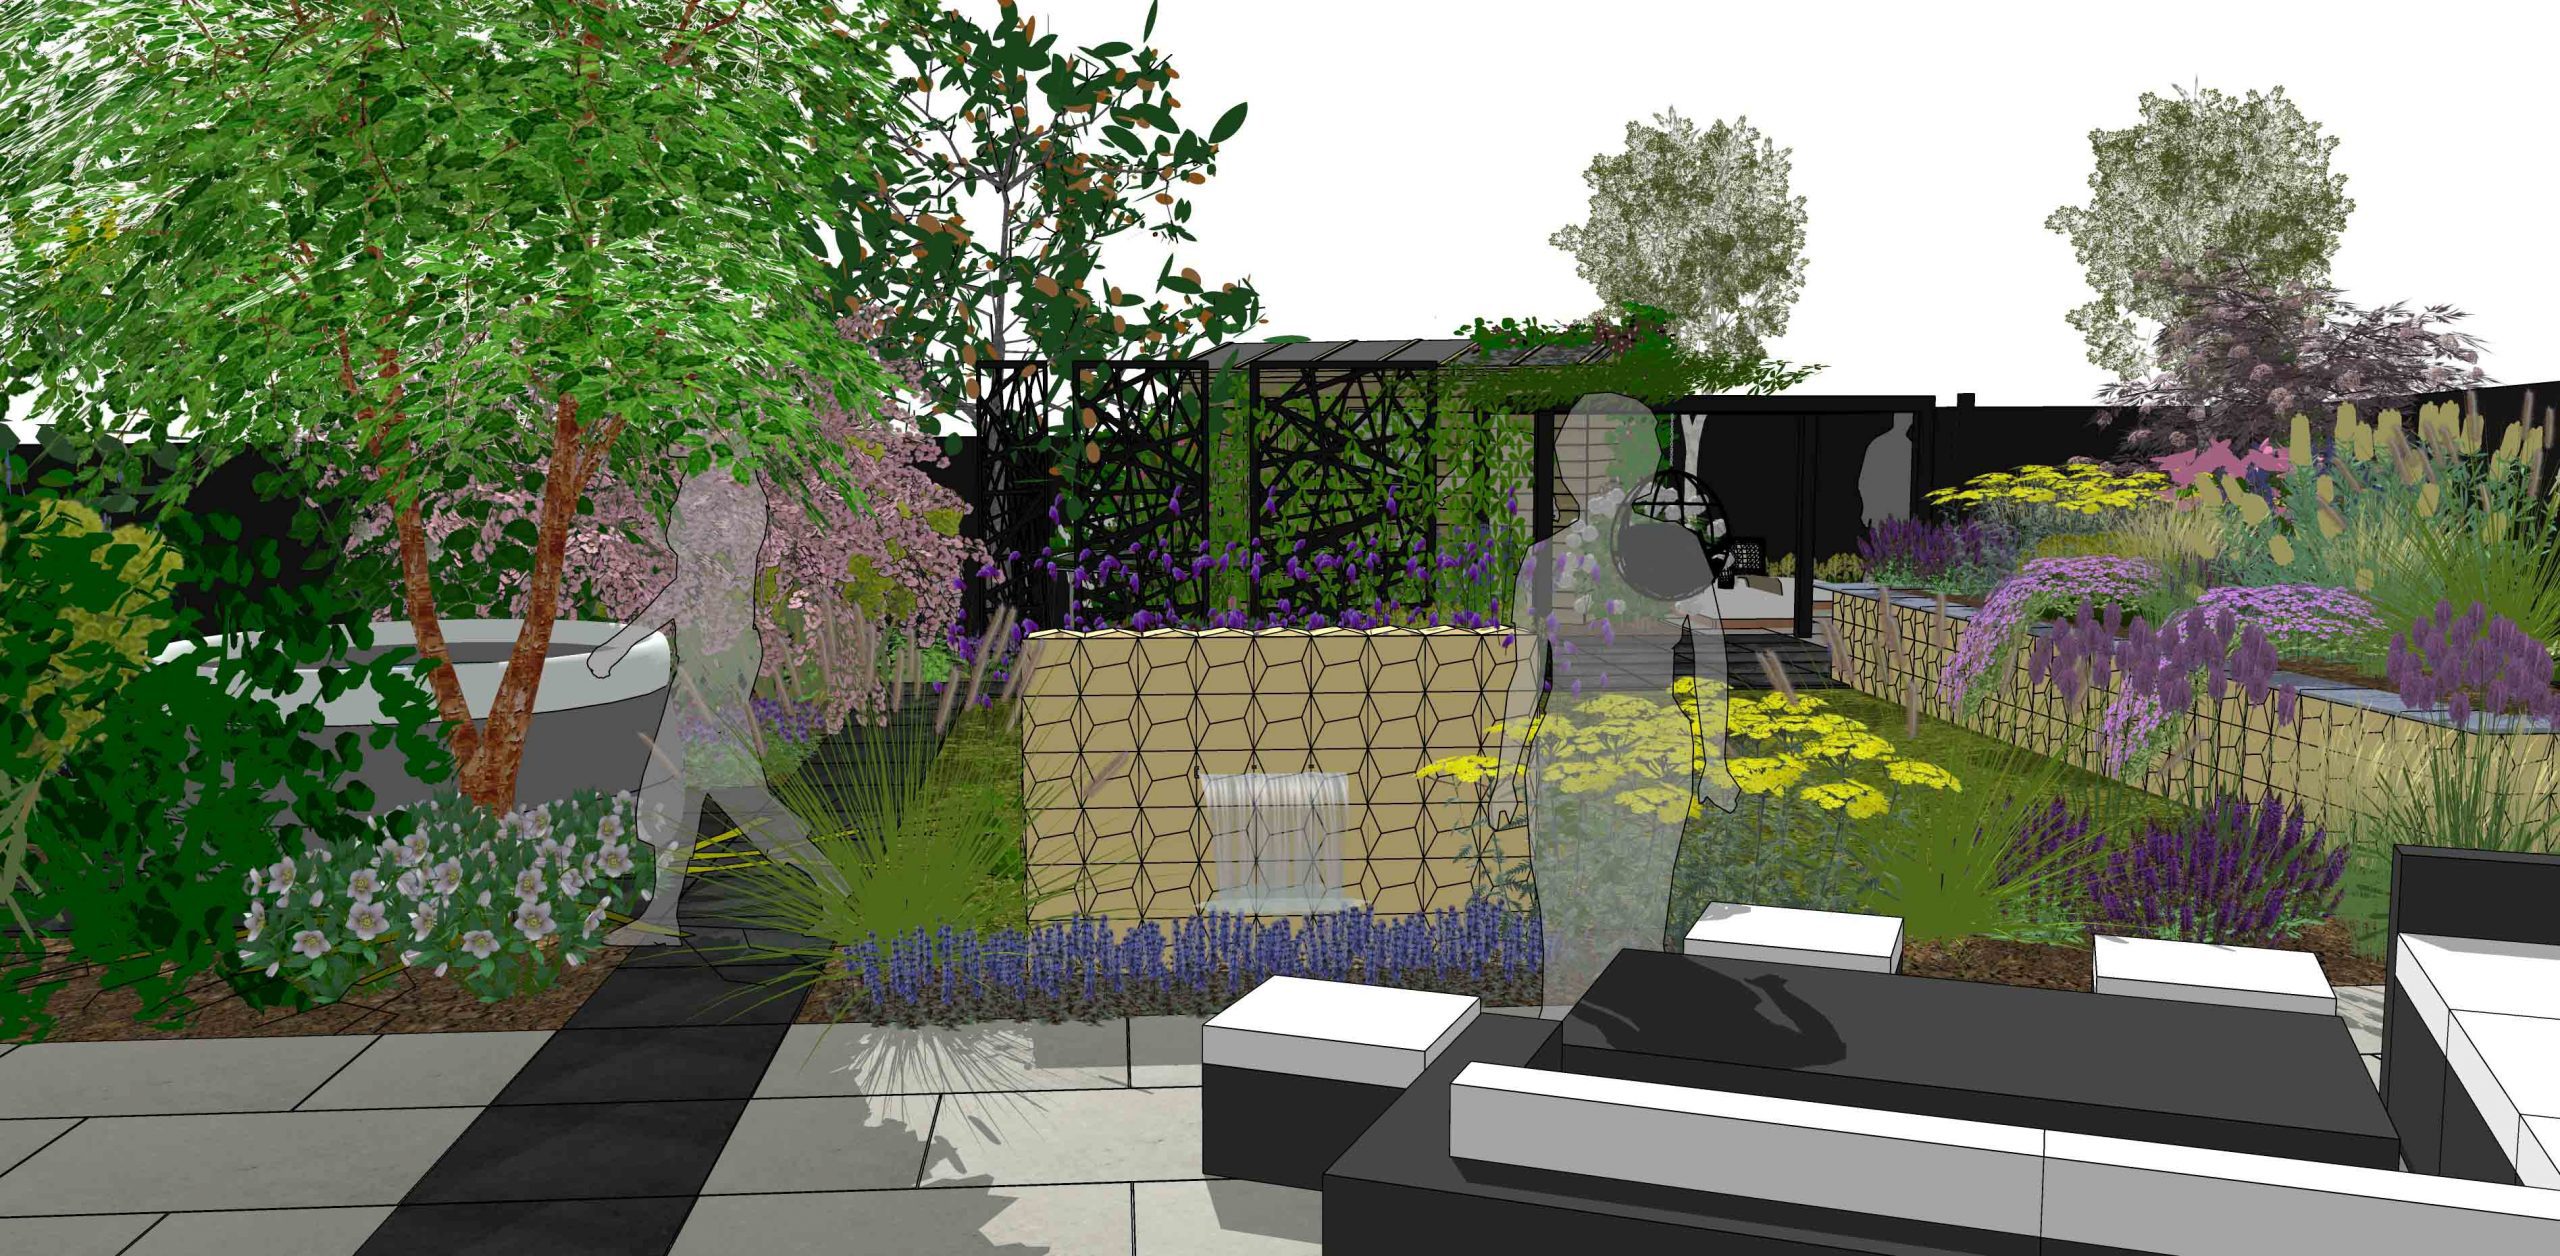
Japanese Influenced Garden Design in Leigh – ED465
Japanese Influenced Garden Design in Leigh Brief The rear elevation of the property has a large glass façade
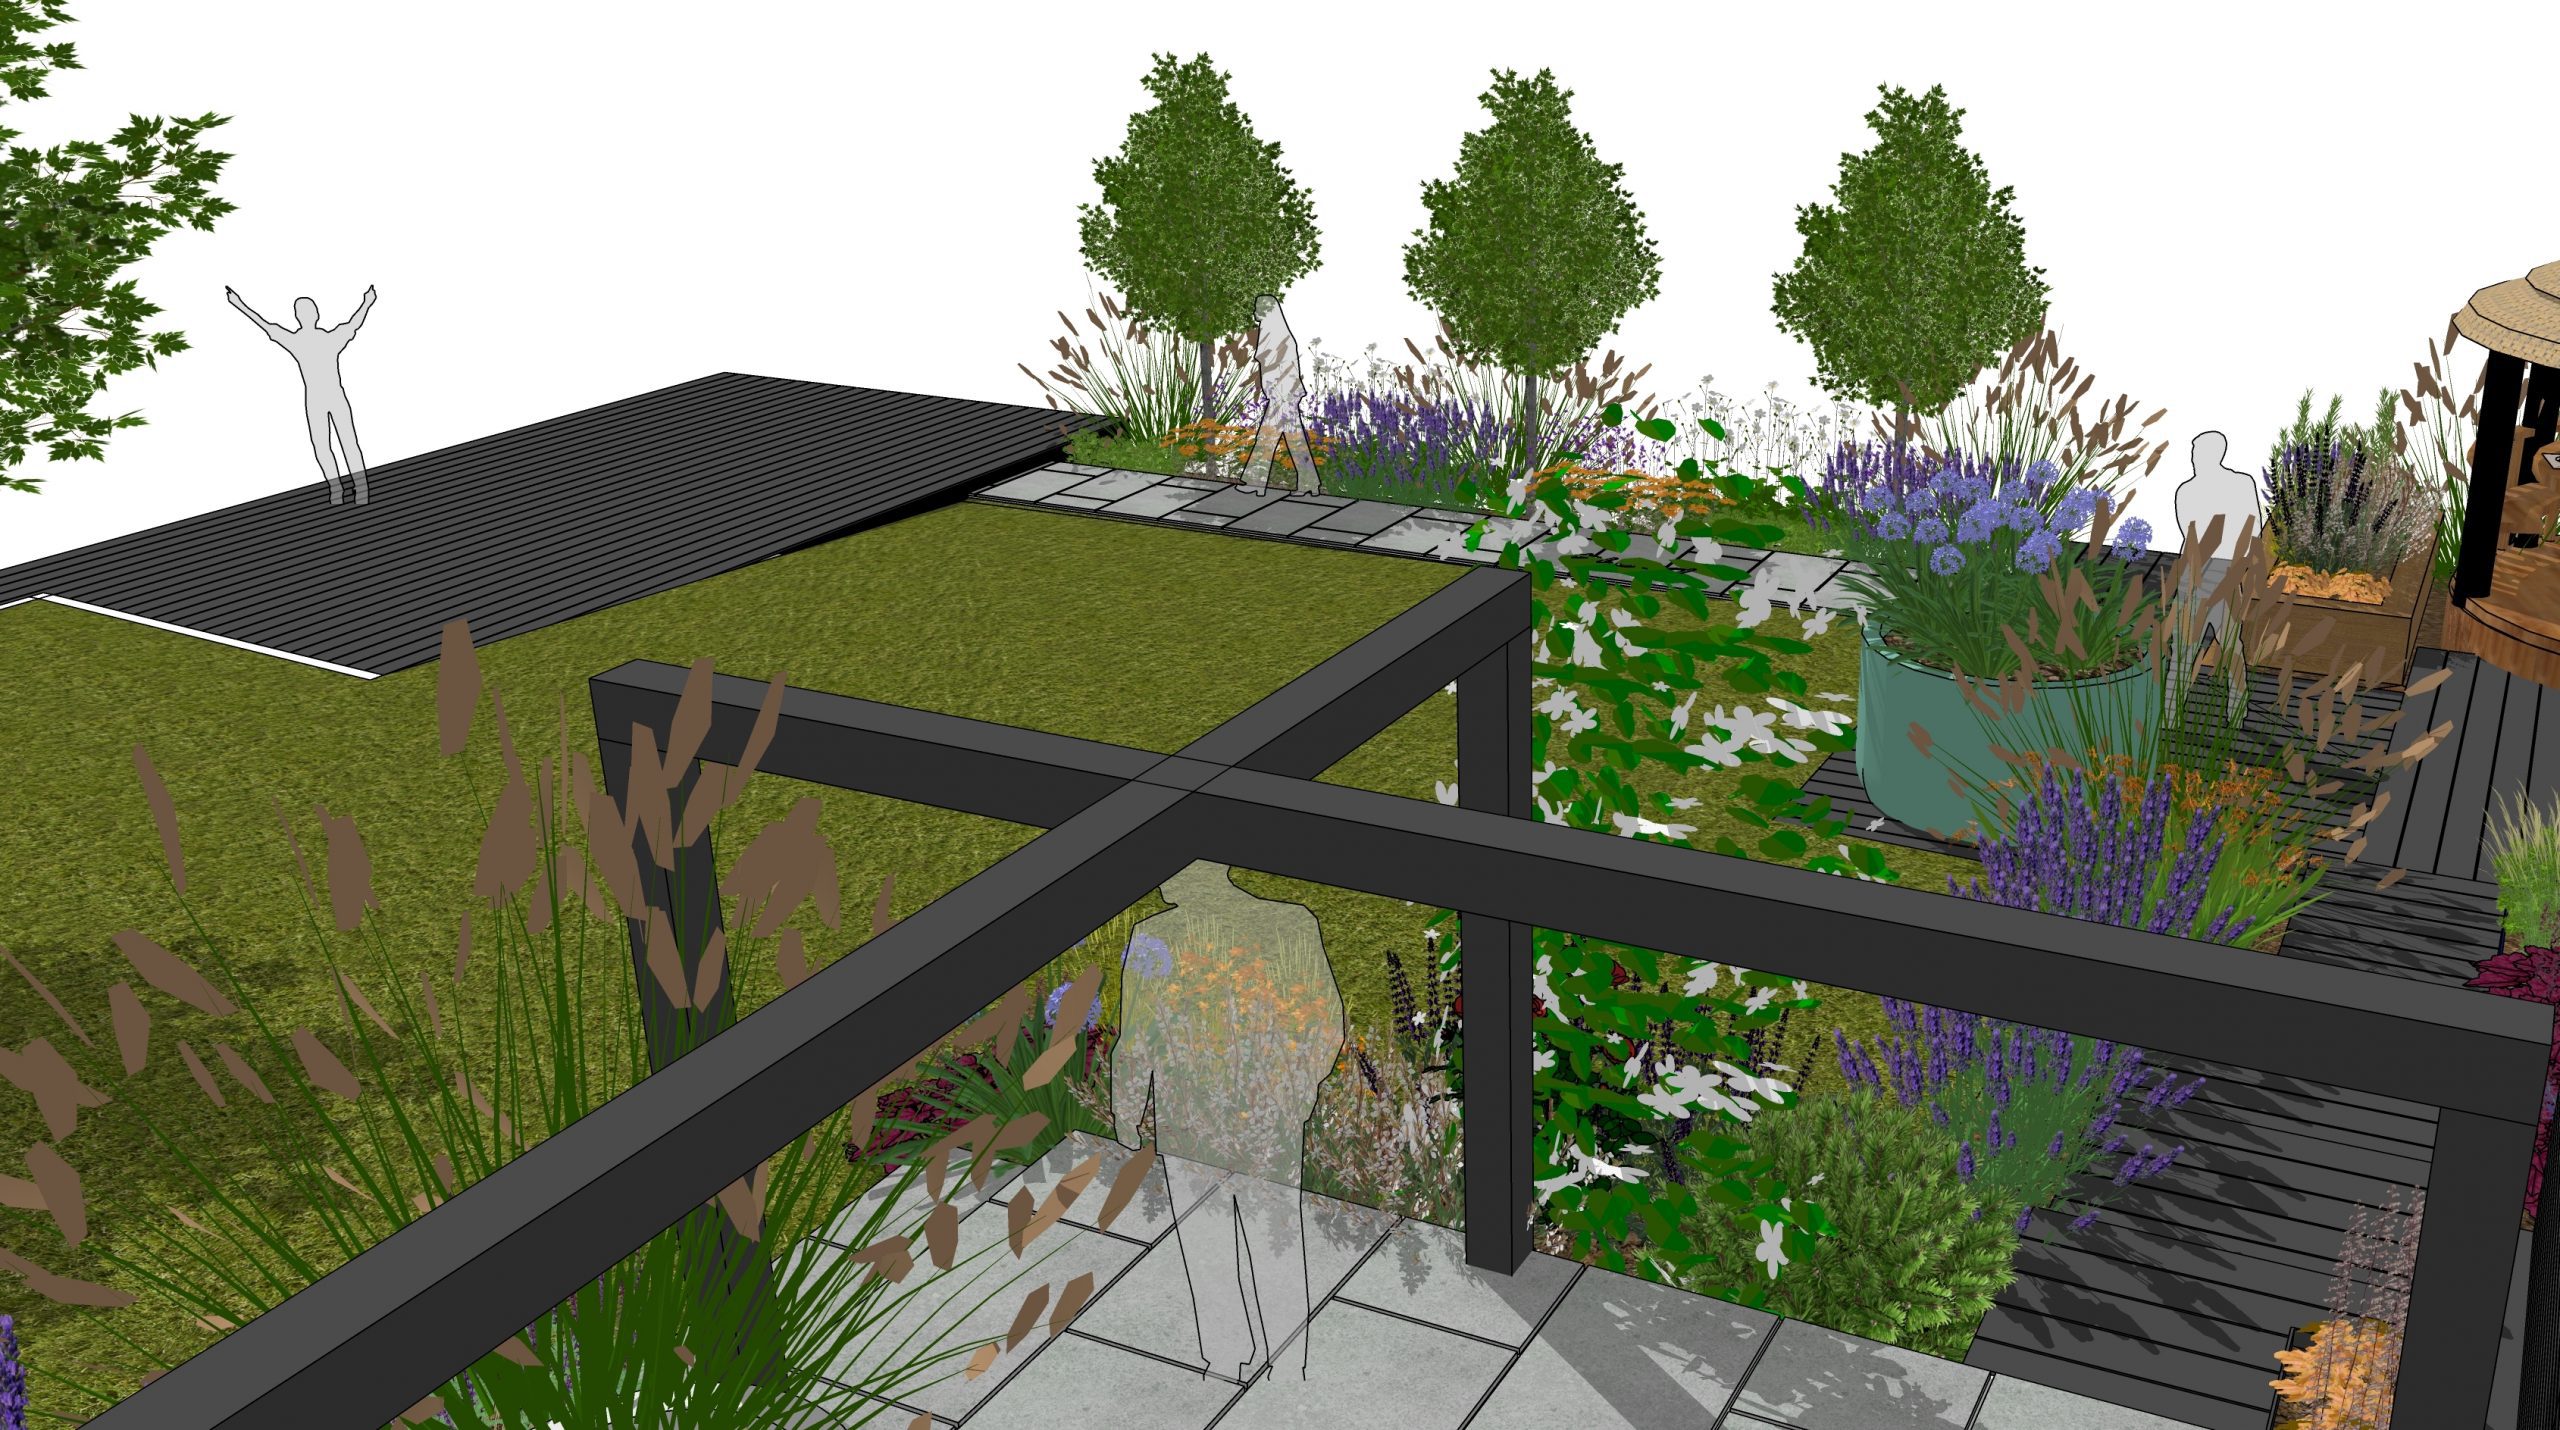
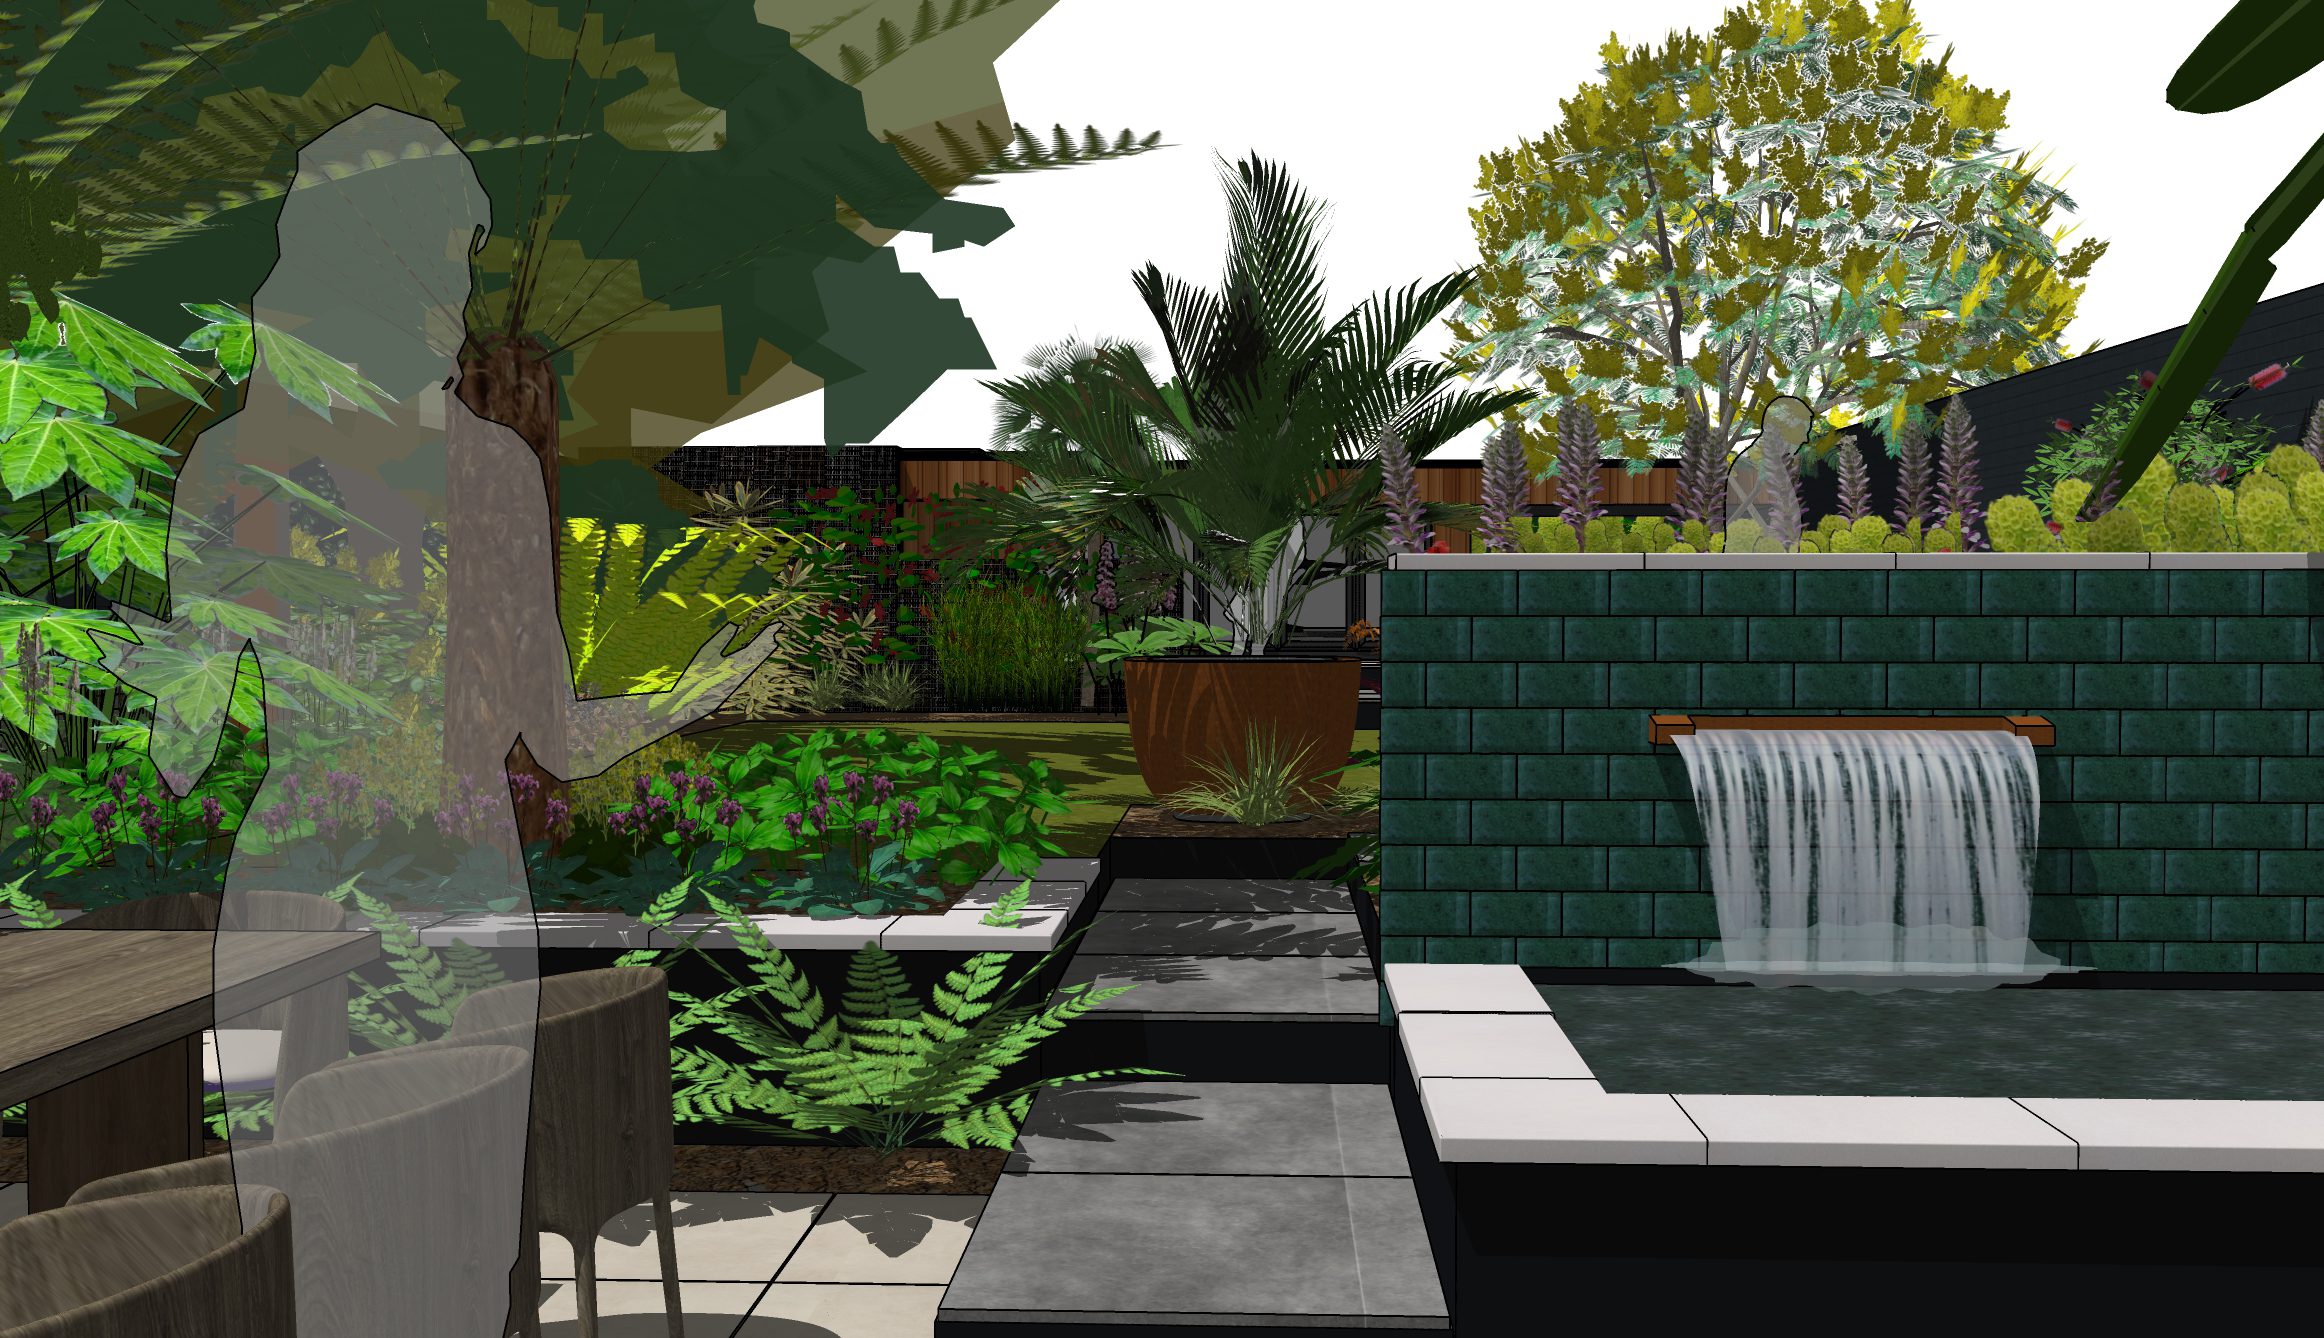
London Courtyard Garden Design – ED462
London Courtyard Garden Design Brief This garden needs to be united with the house at the client is
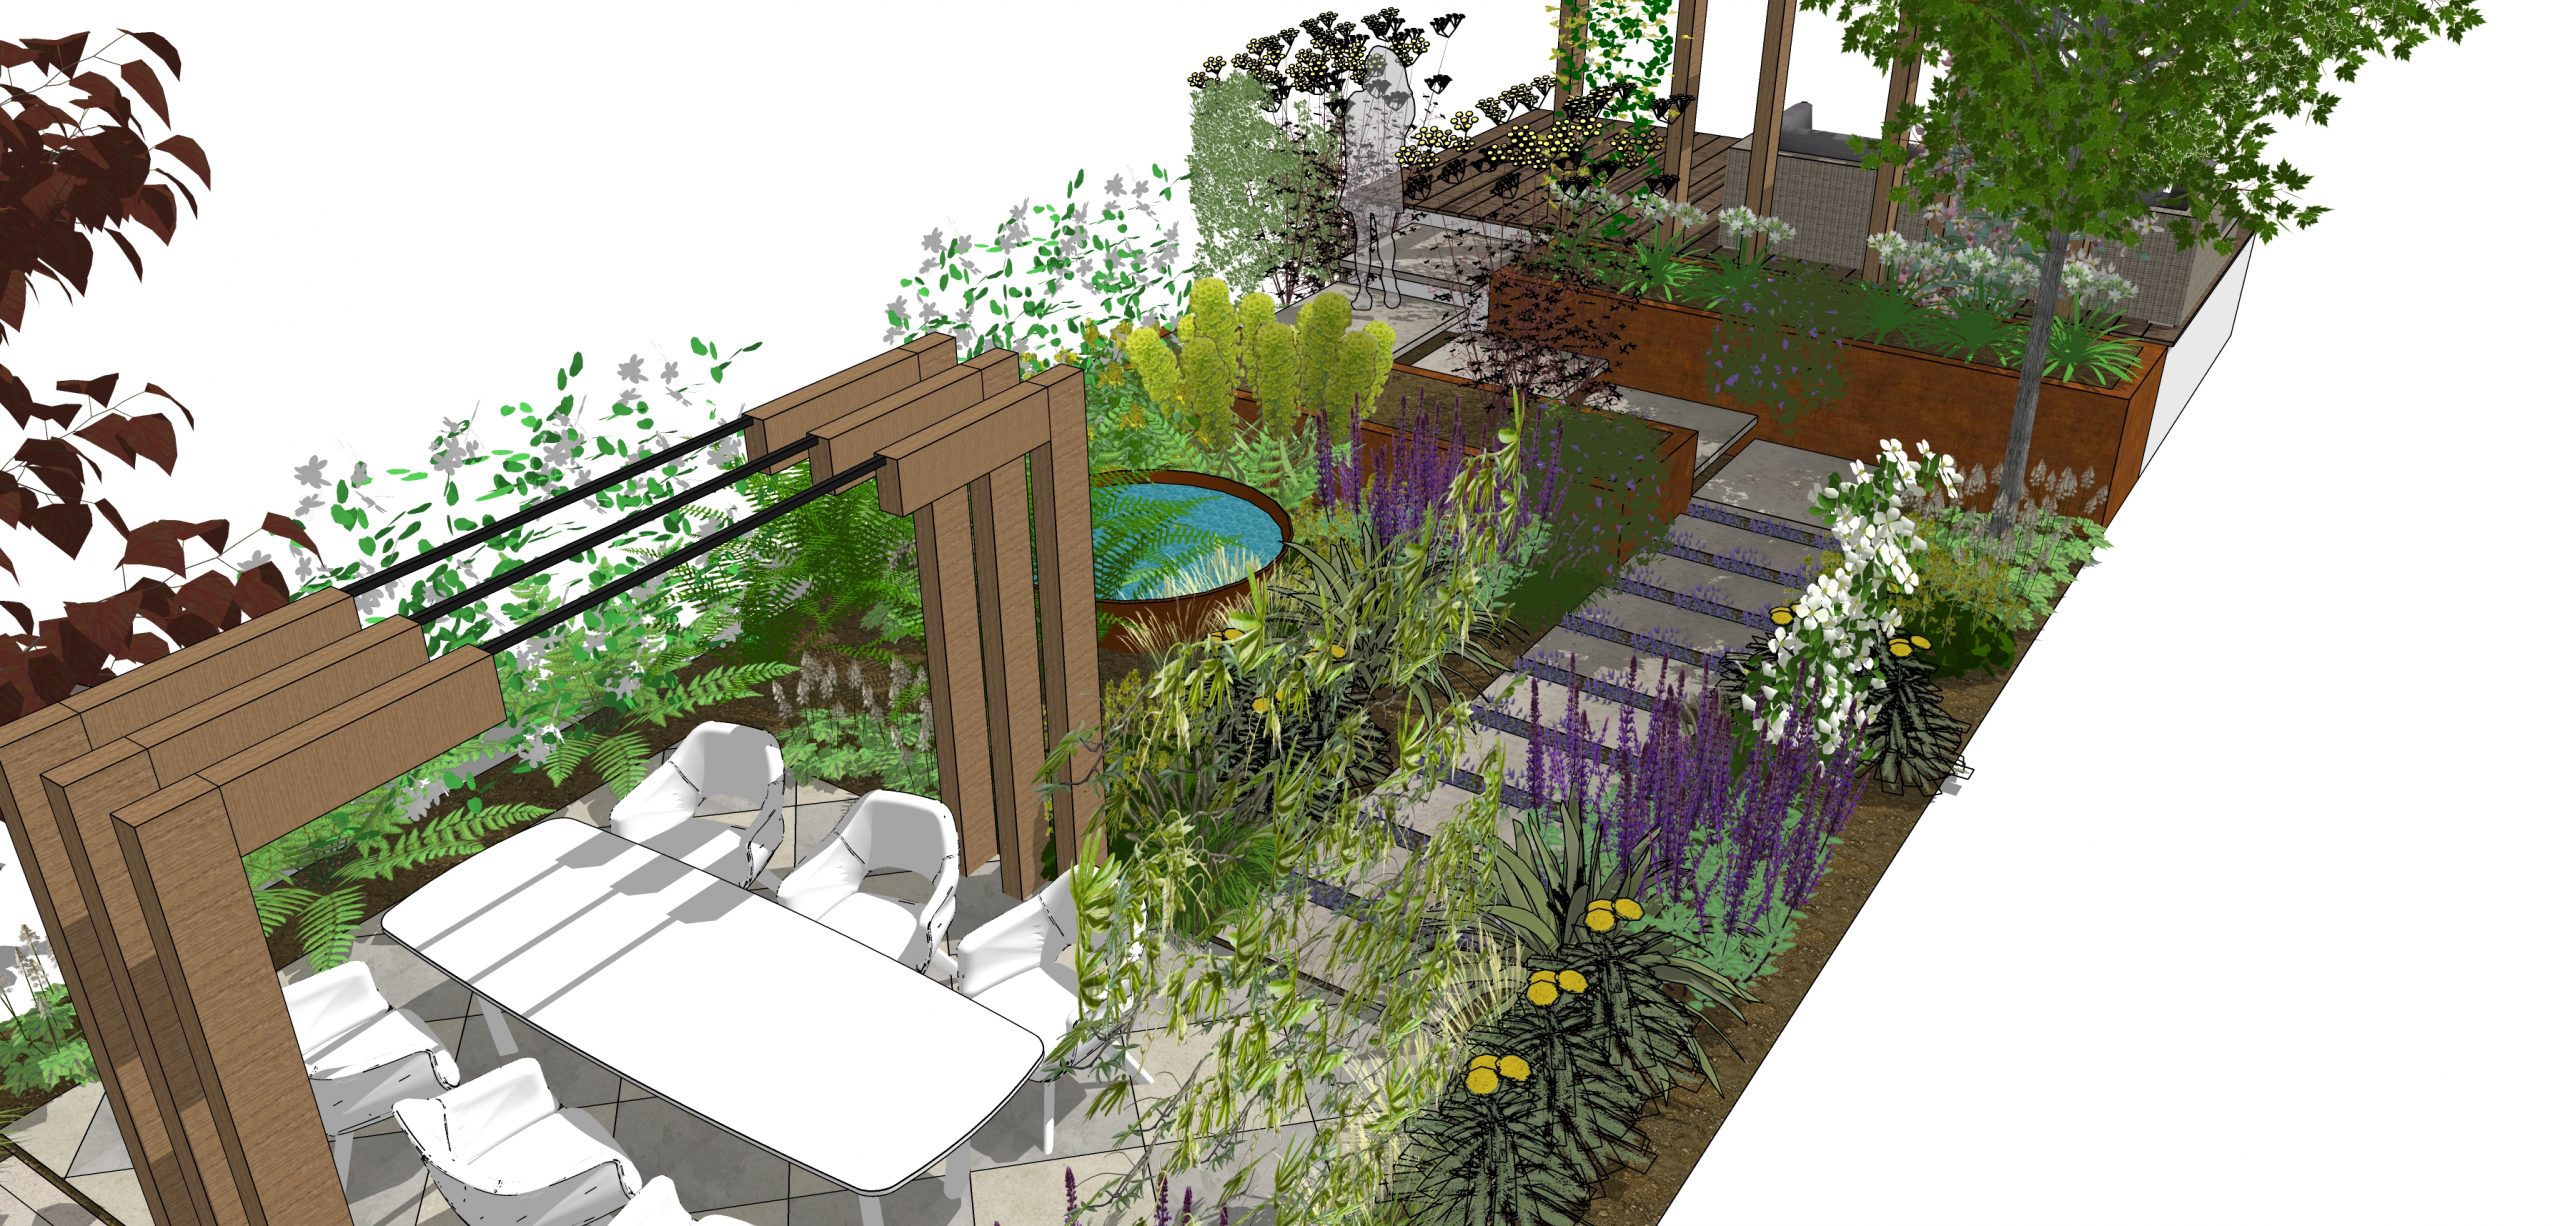
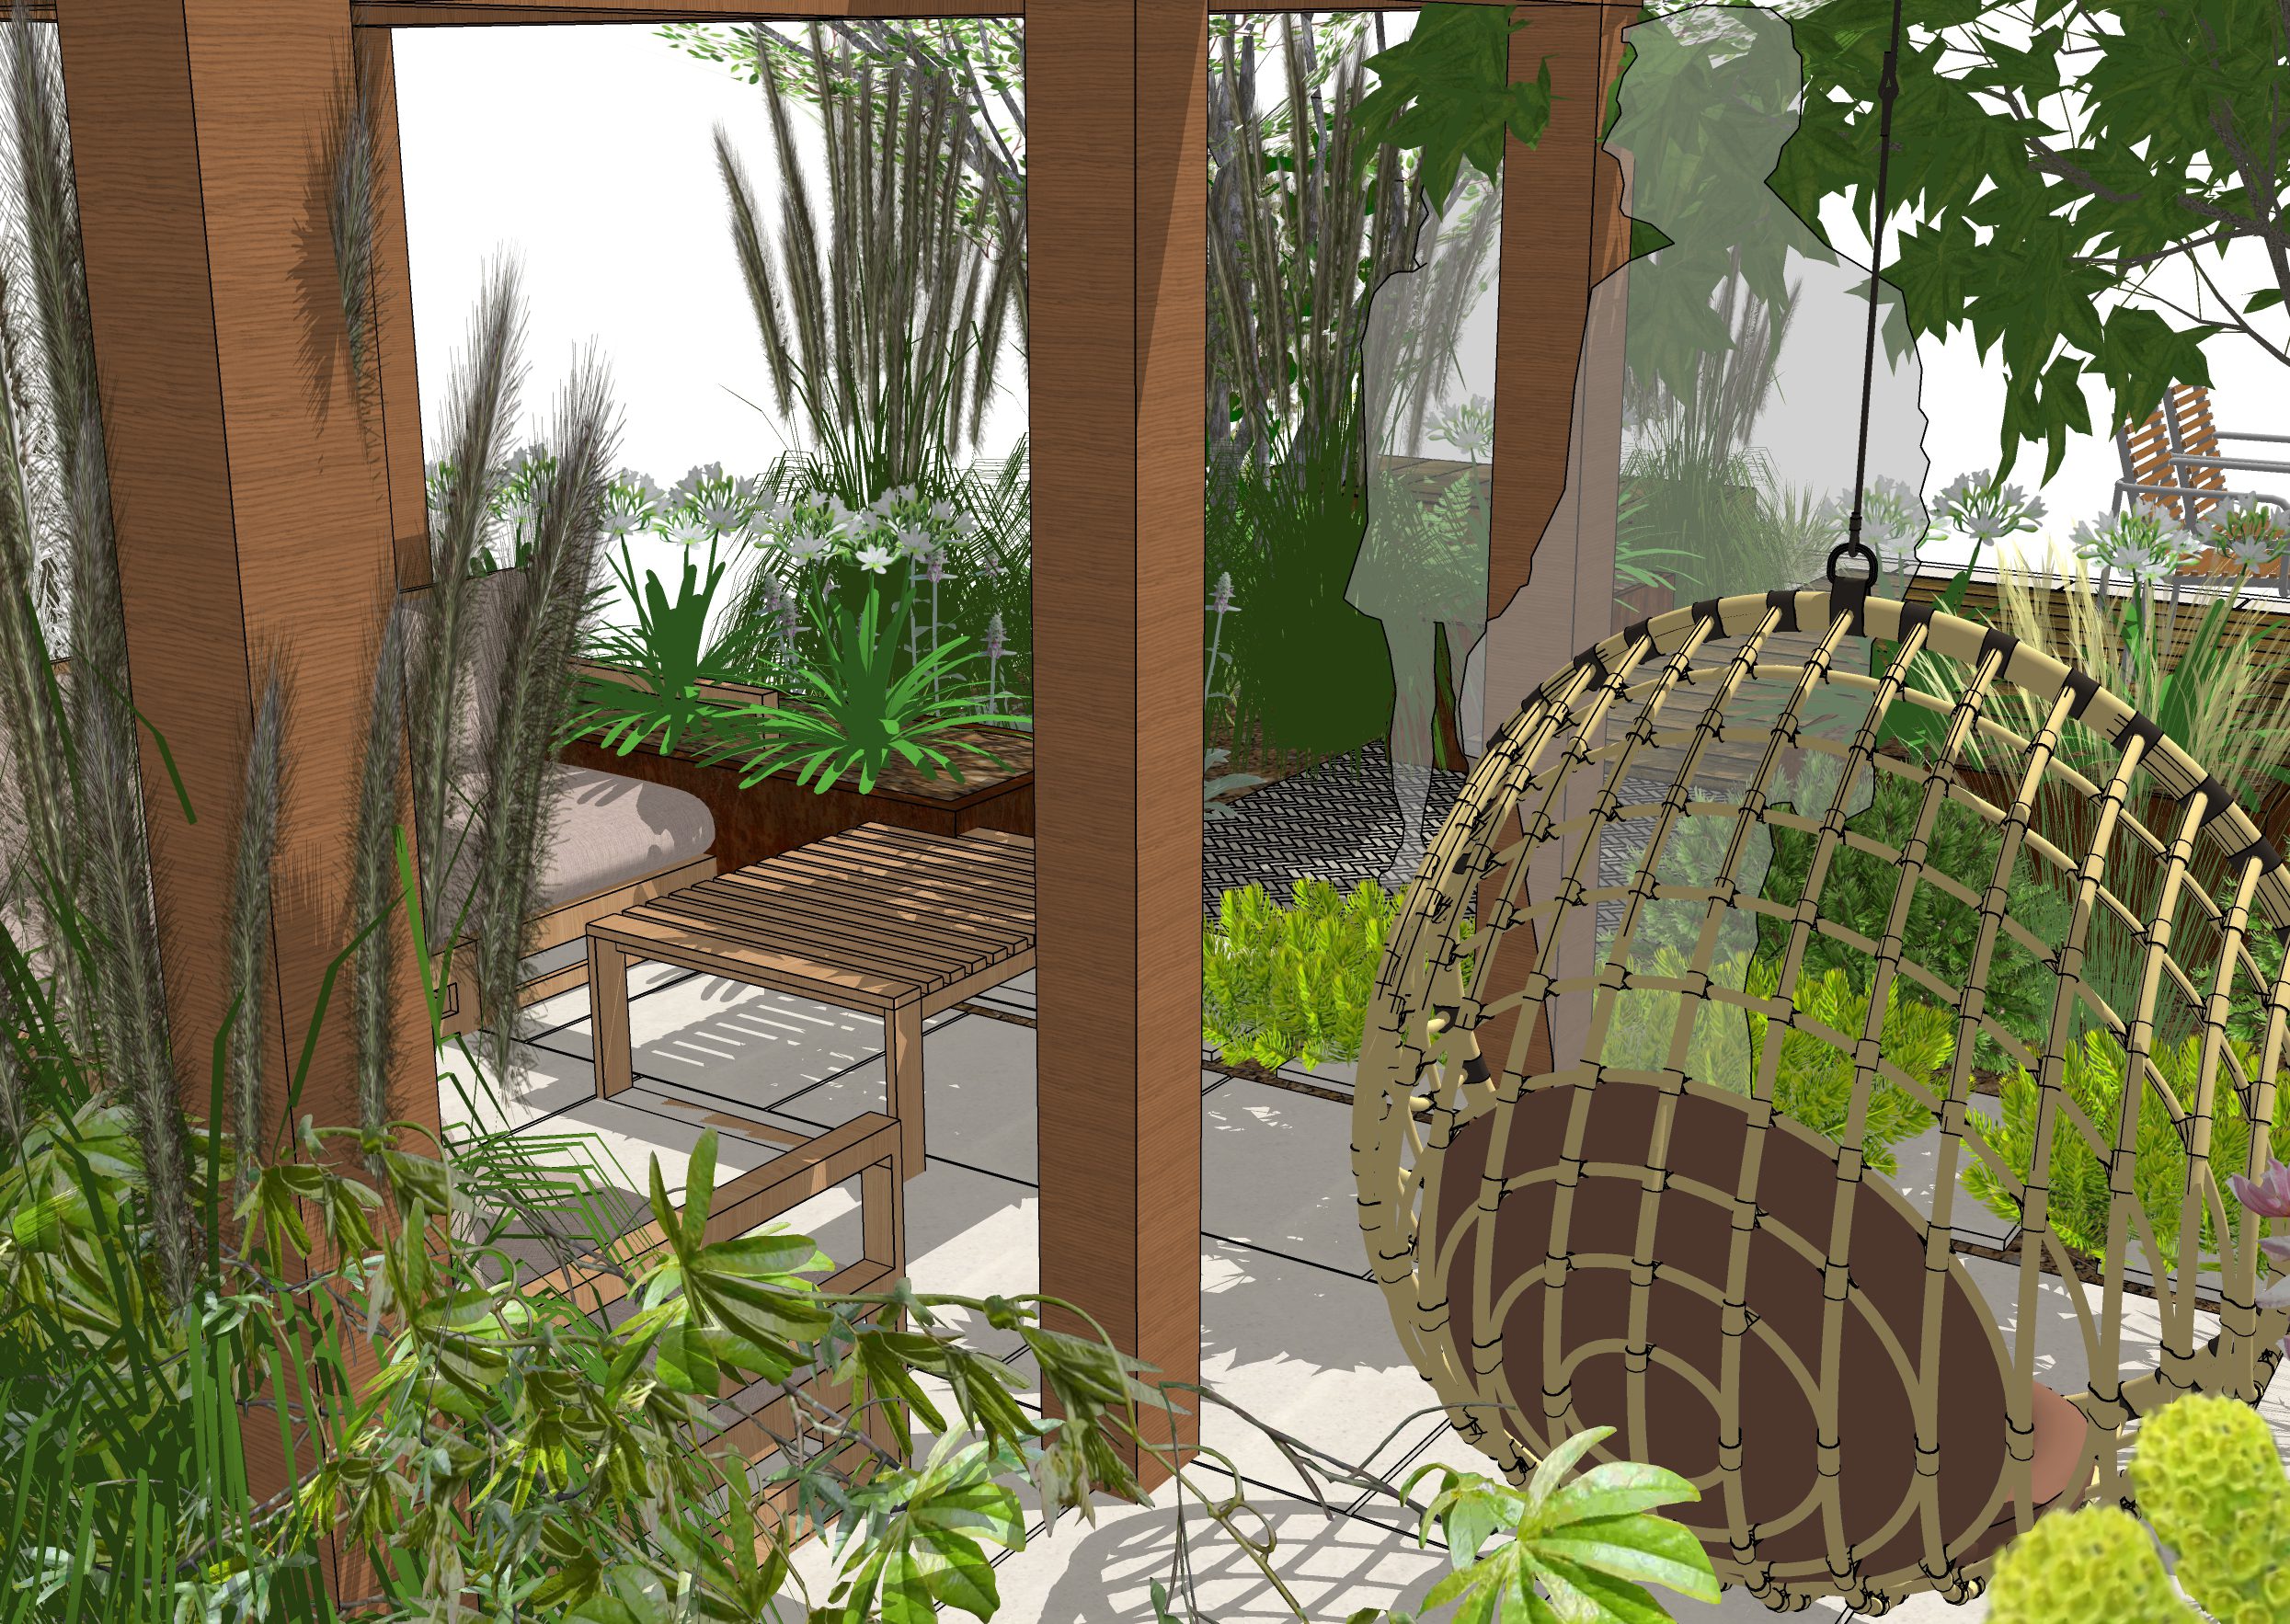
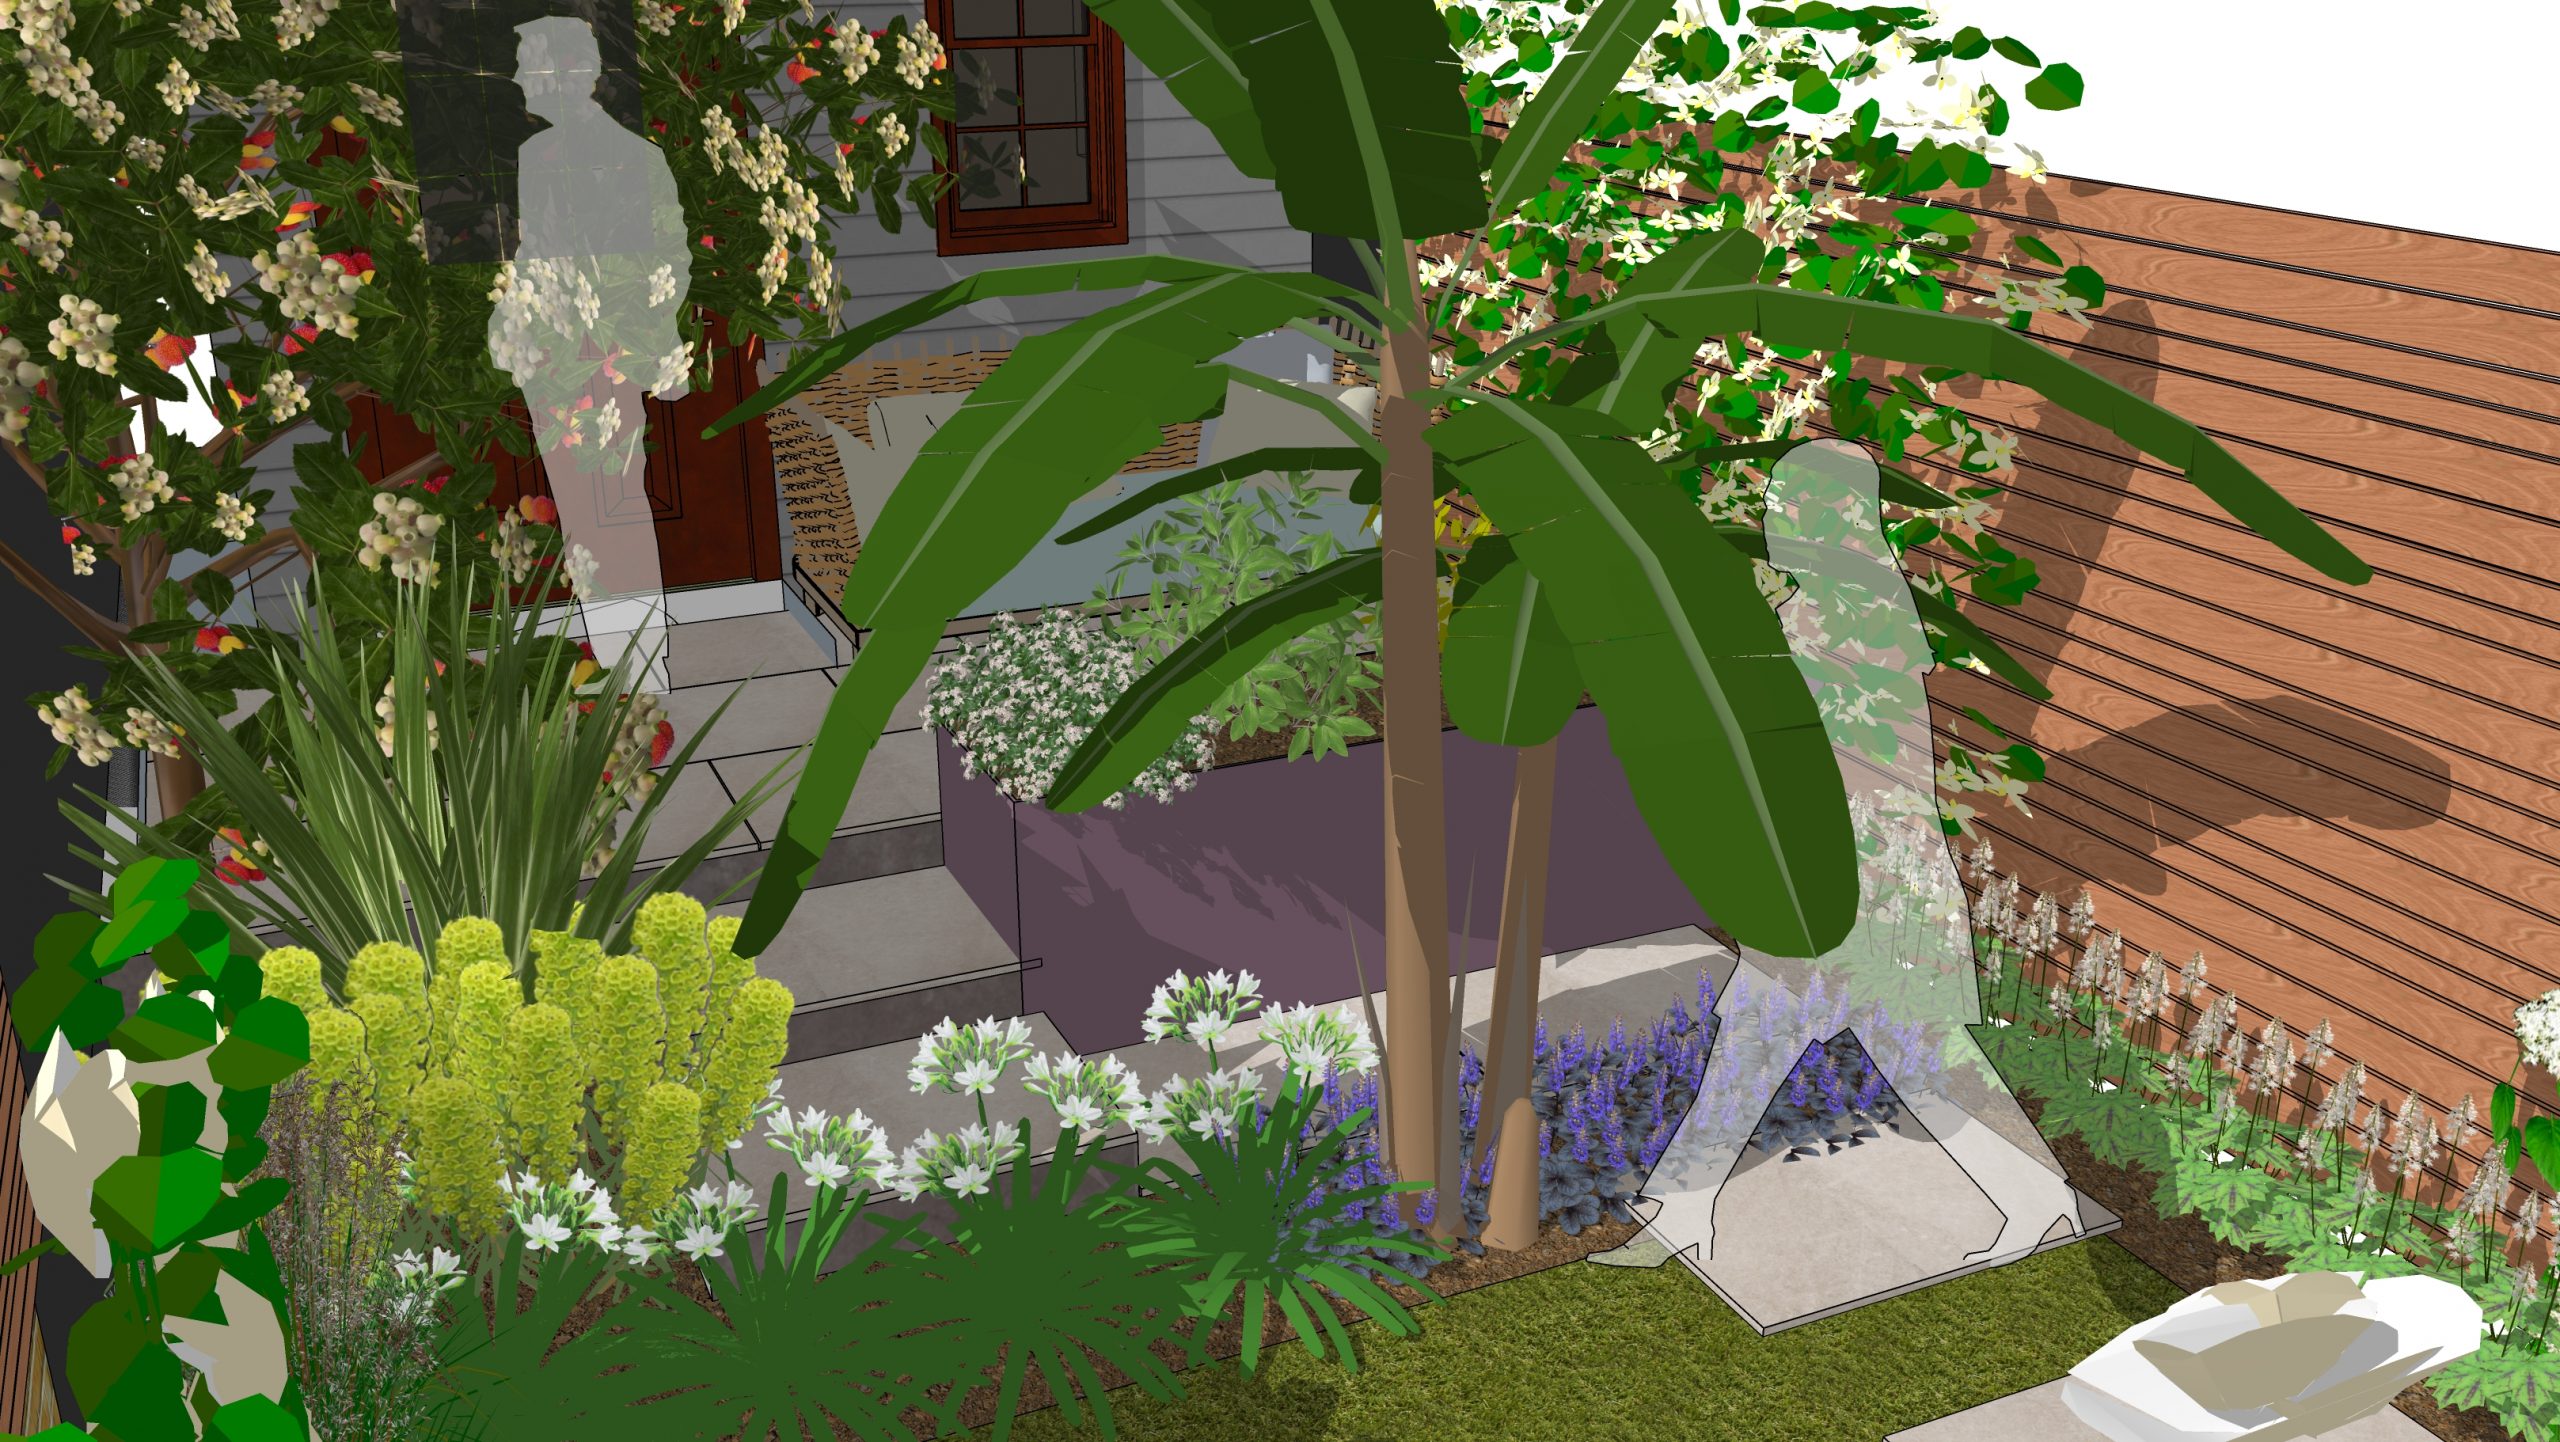
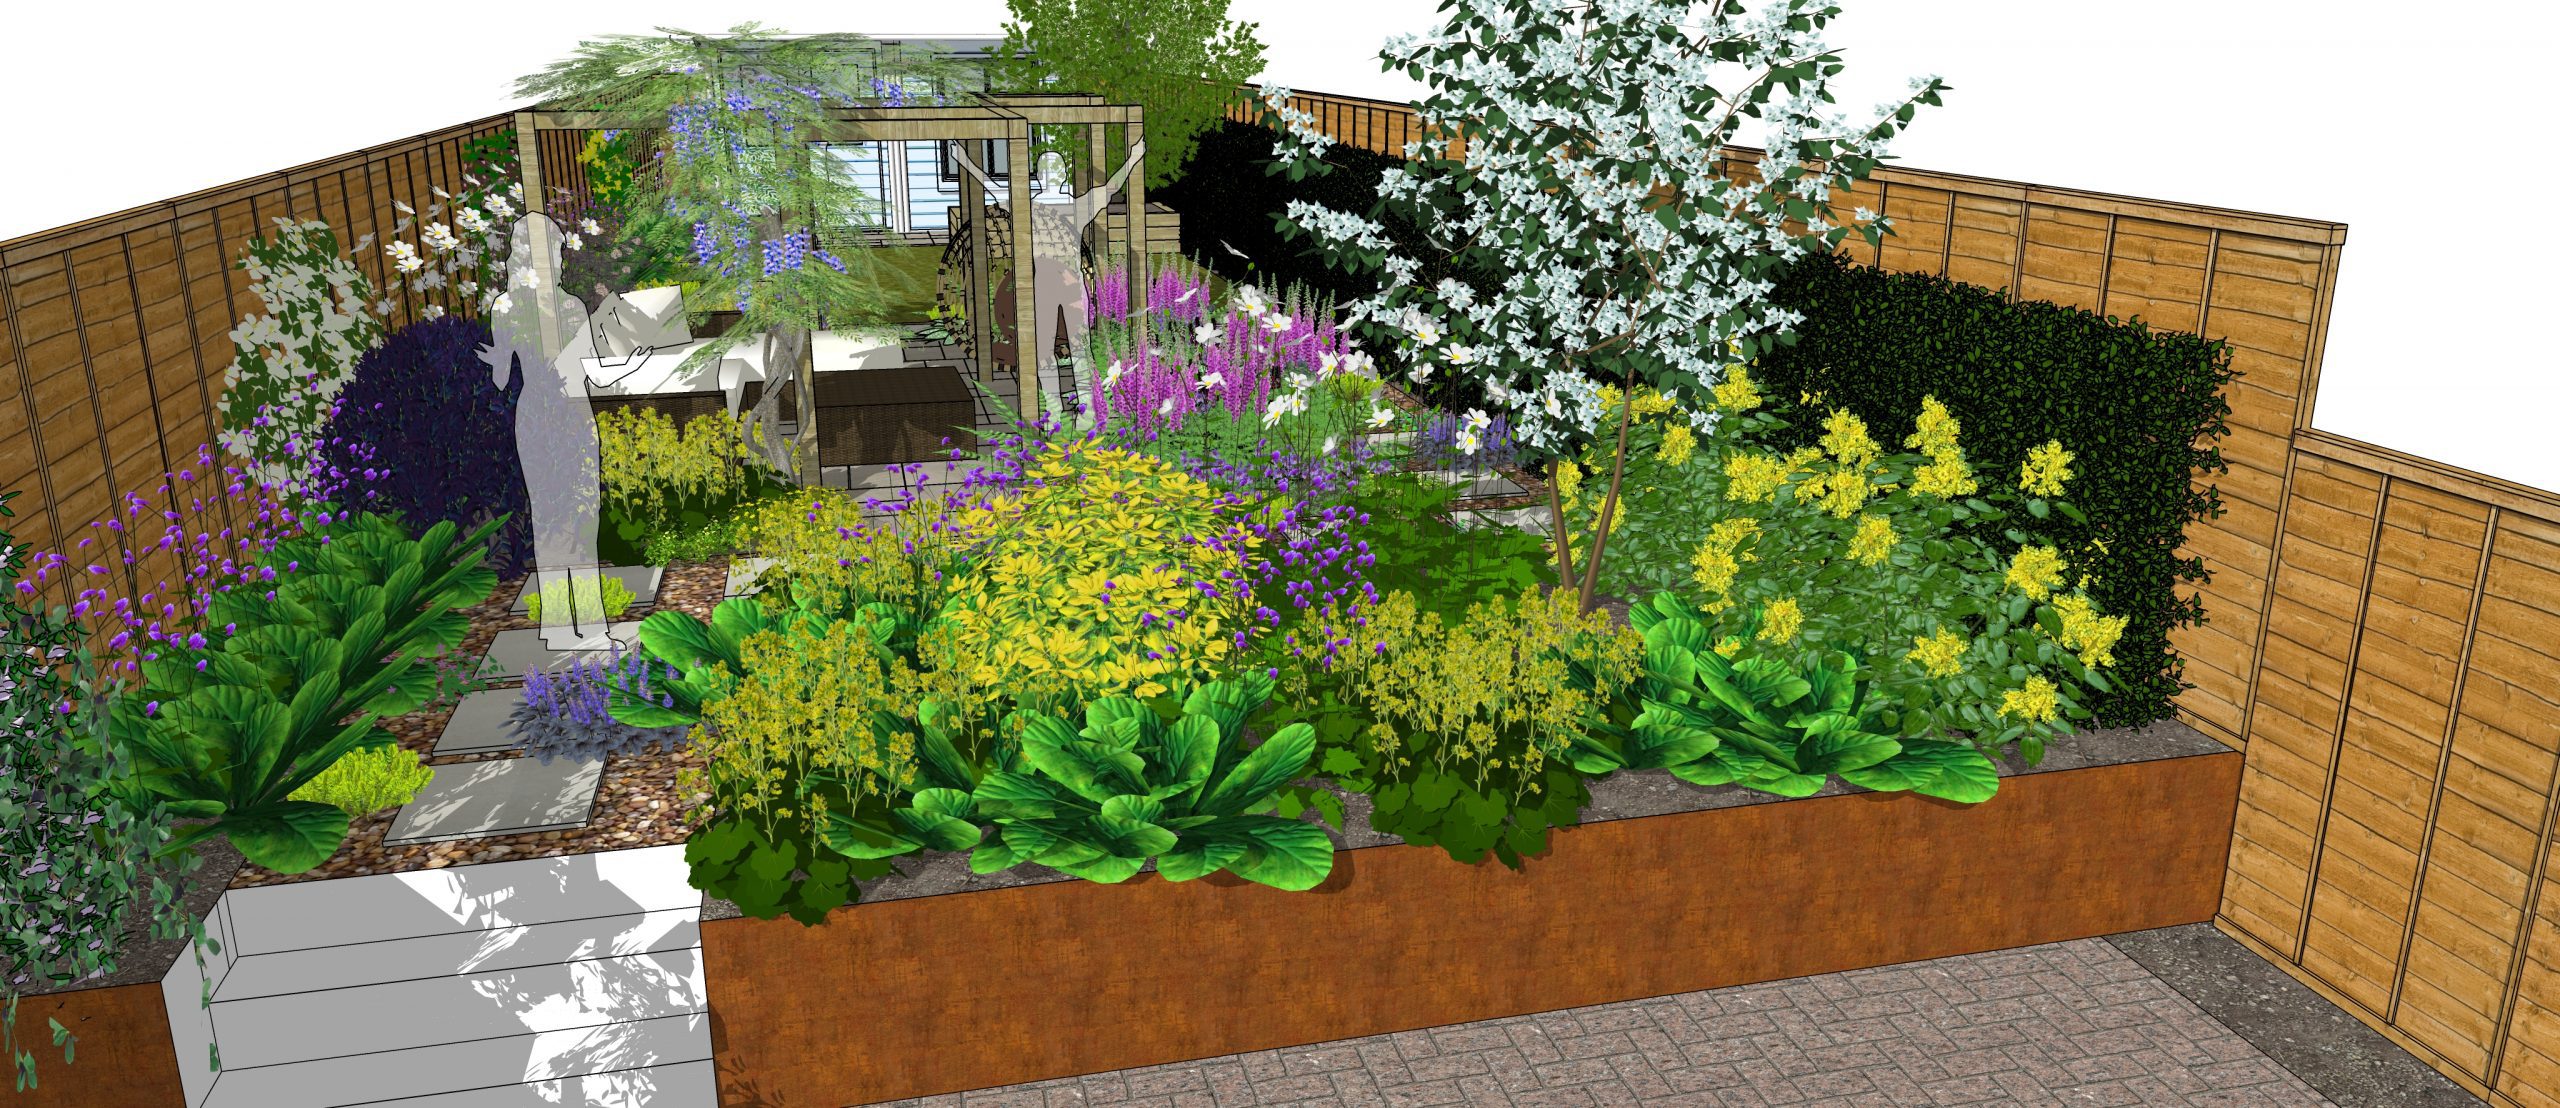
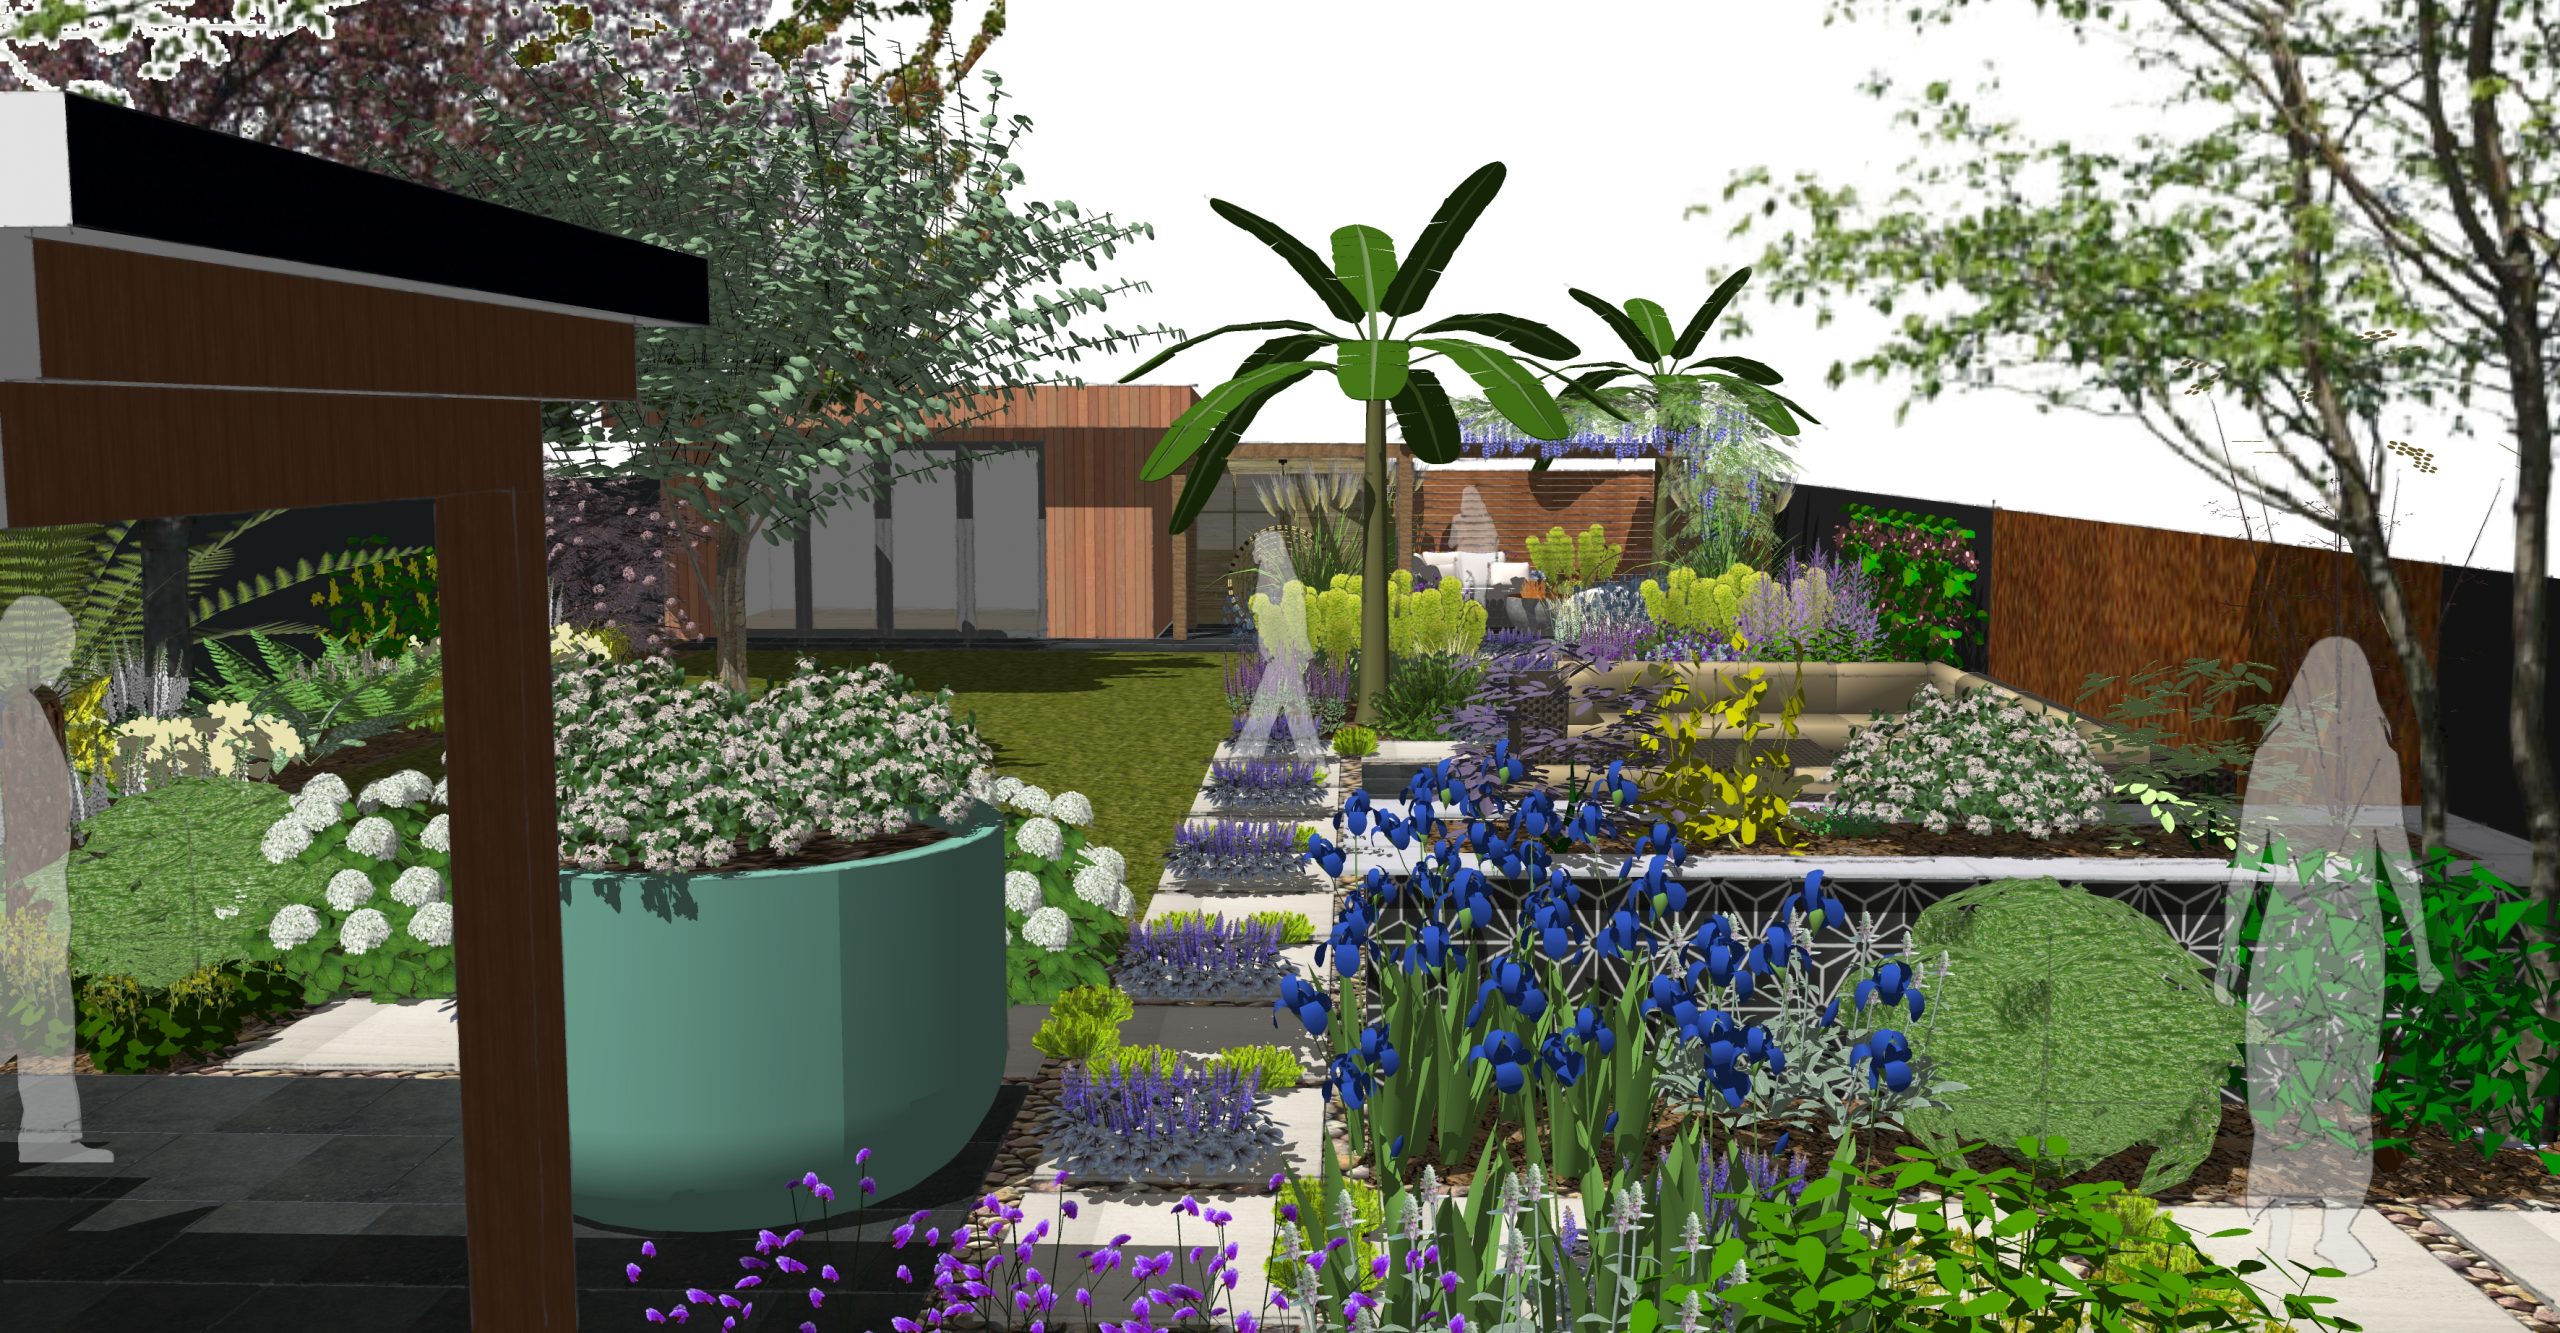
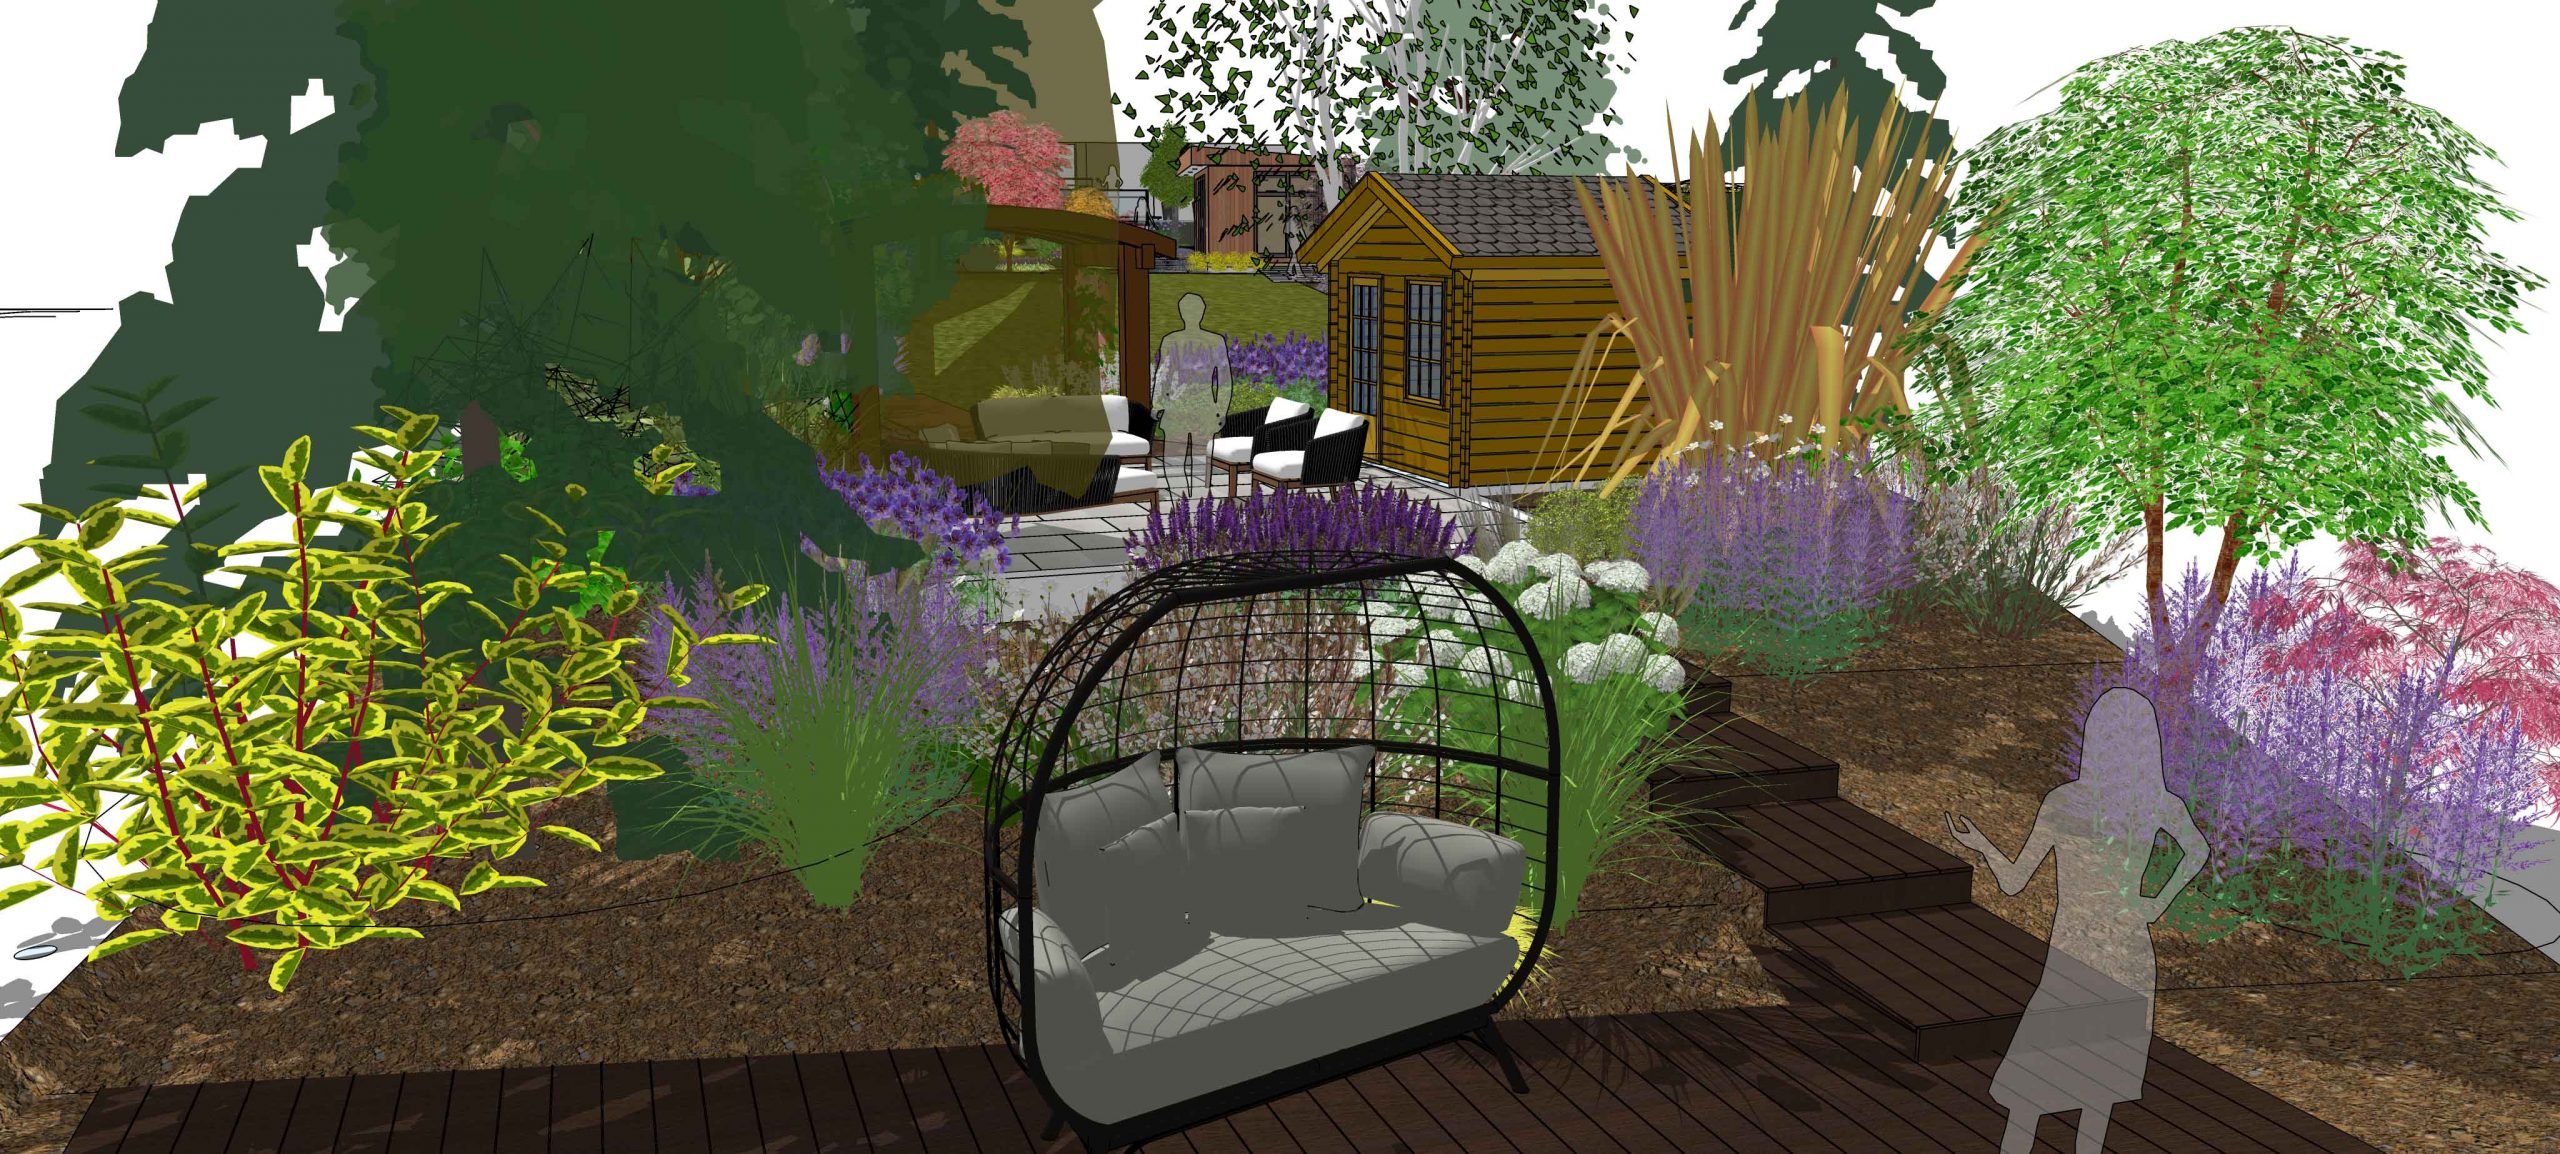
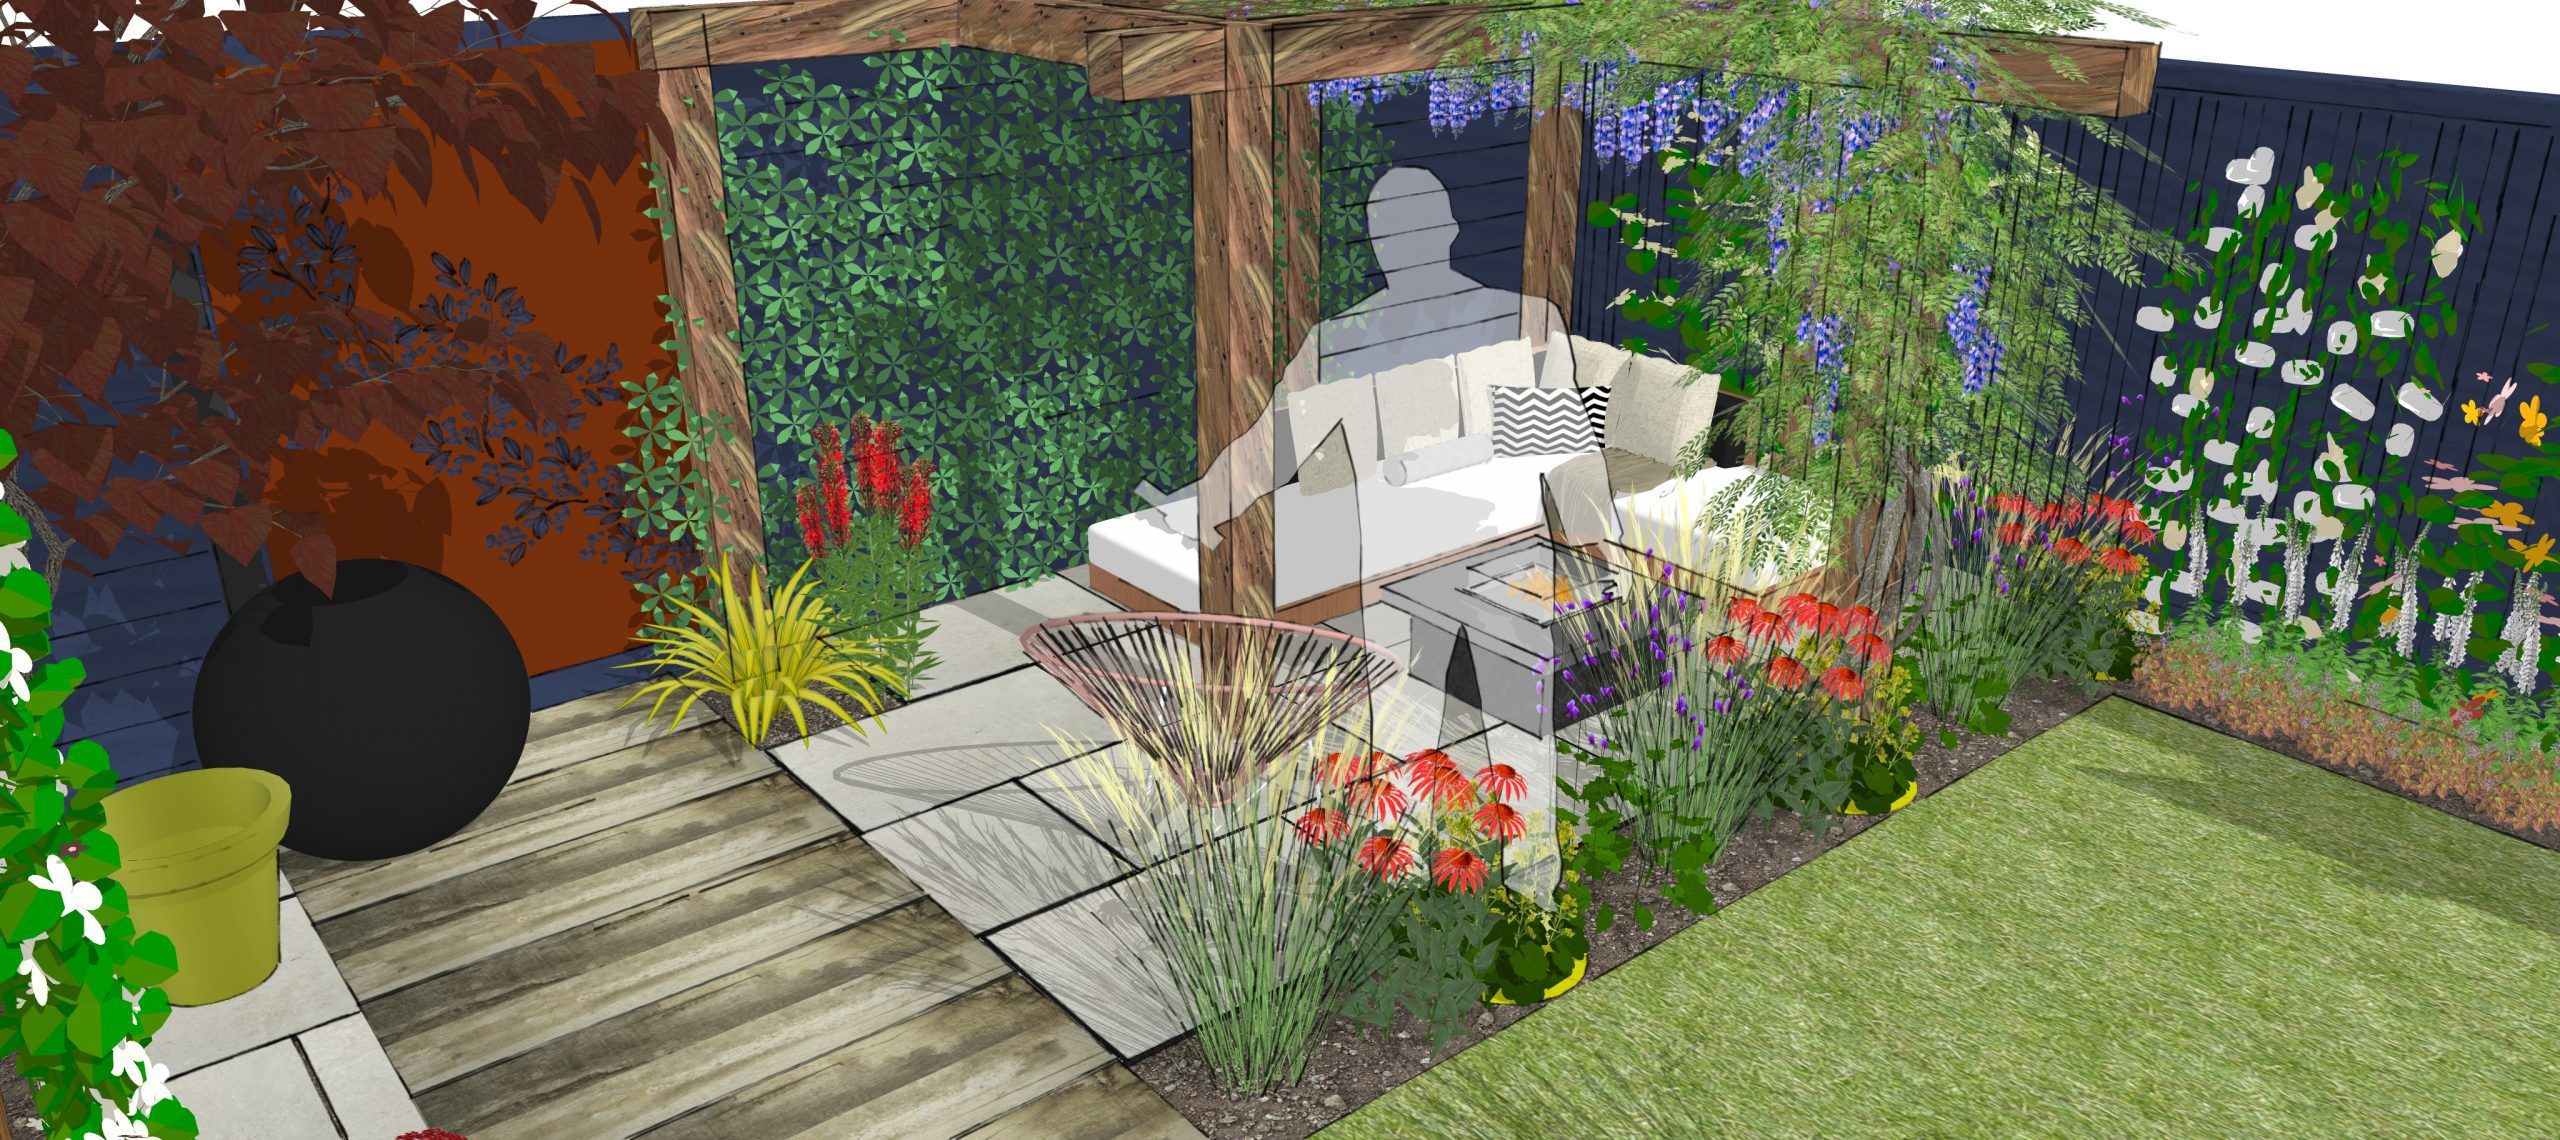
Urban Garden Design in Hackney – ED371
Urban Garden Design in Hackney Brief The client would like the area adjacent to the house to be
Chingford Garden Design – ED381
Chingford Garden Design Brief The garden is an awkward shape and is overlooked so privacy should be considered in
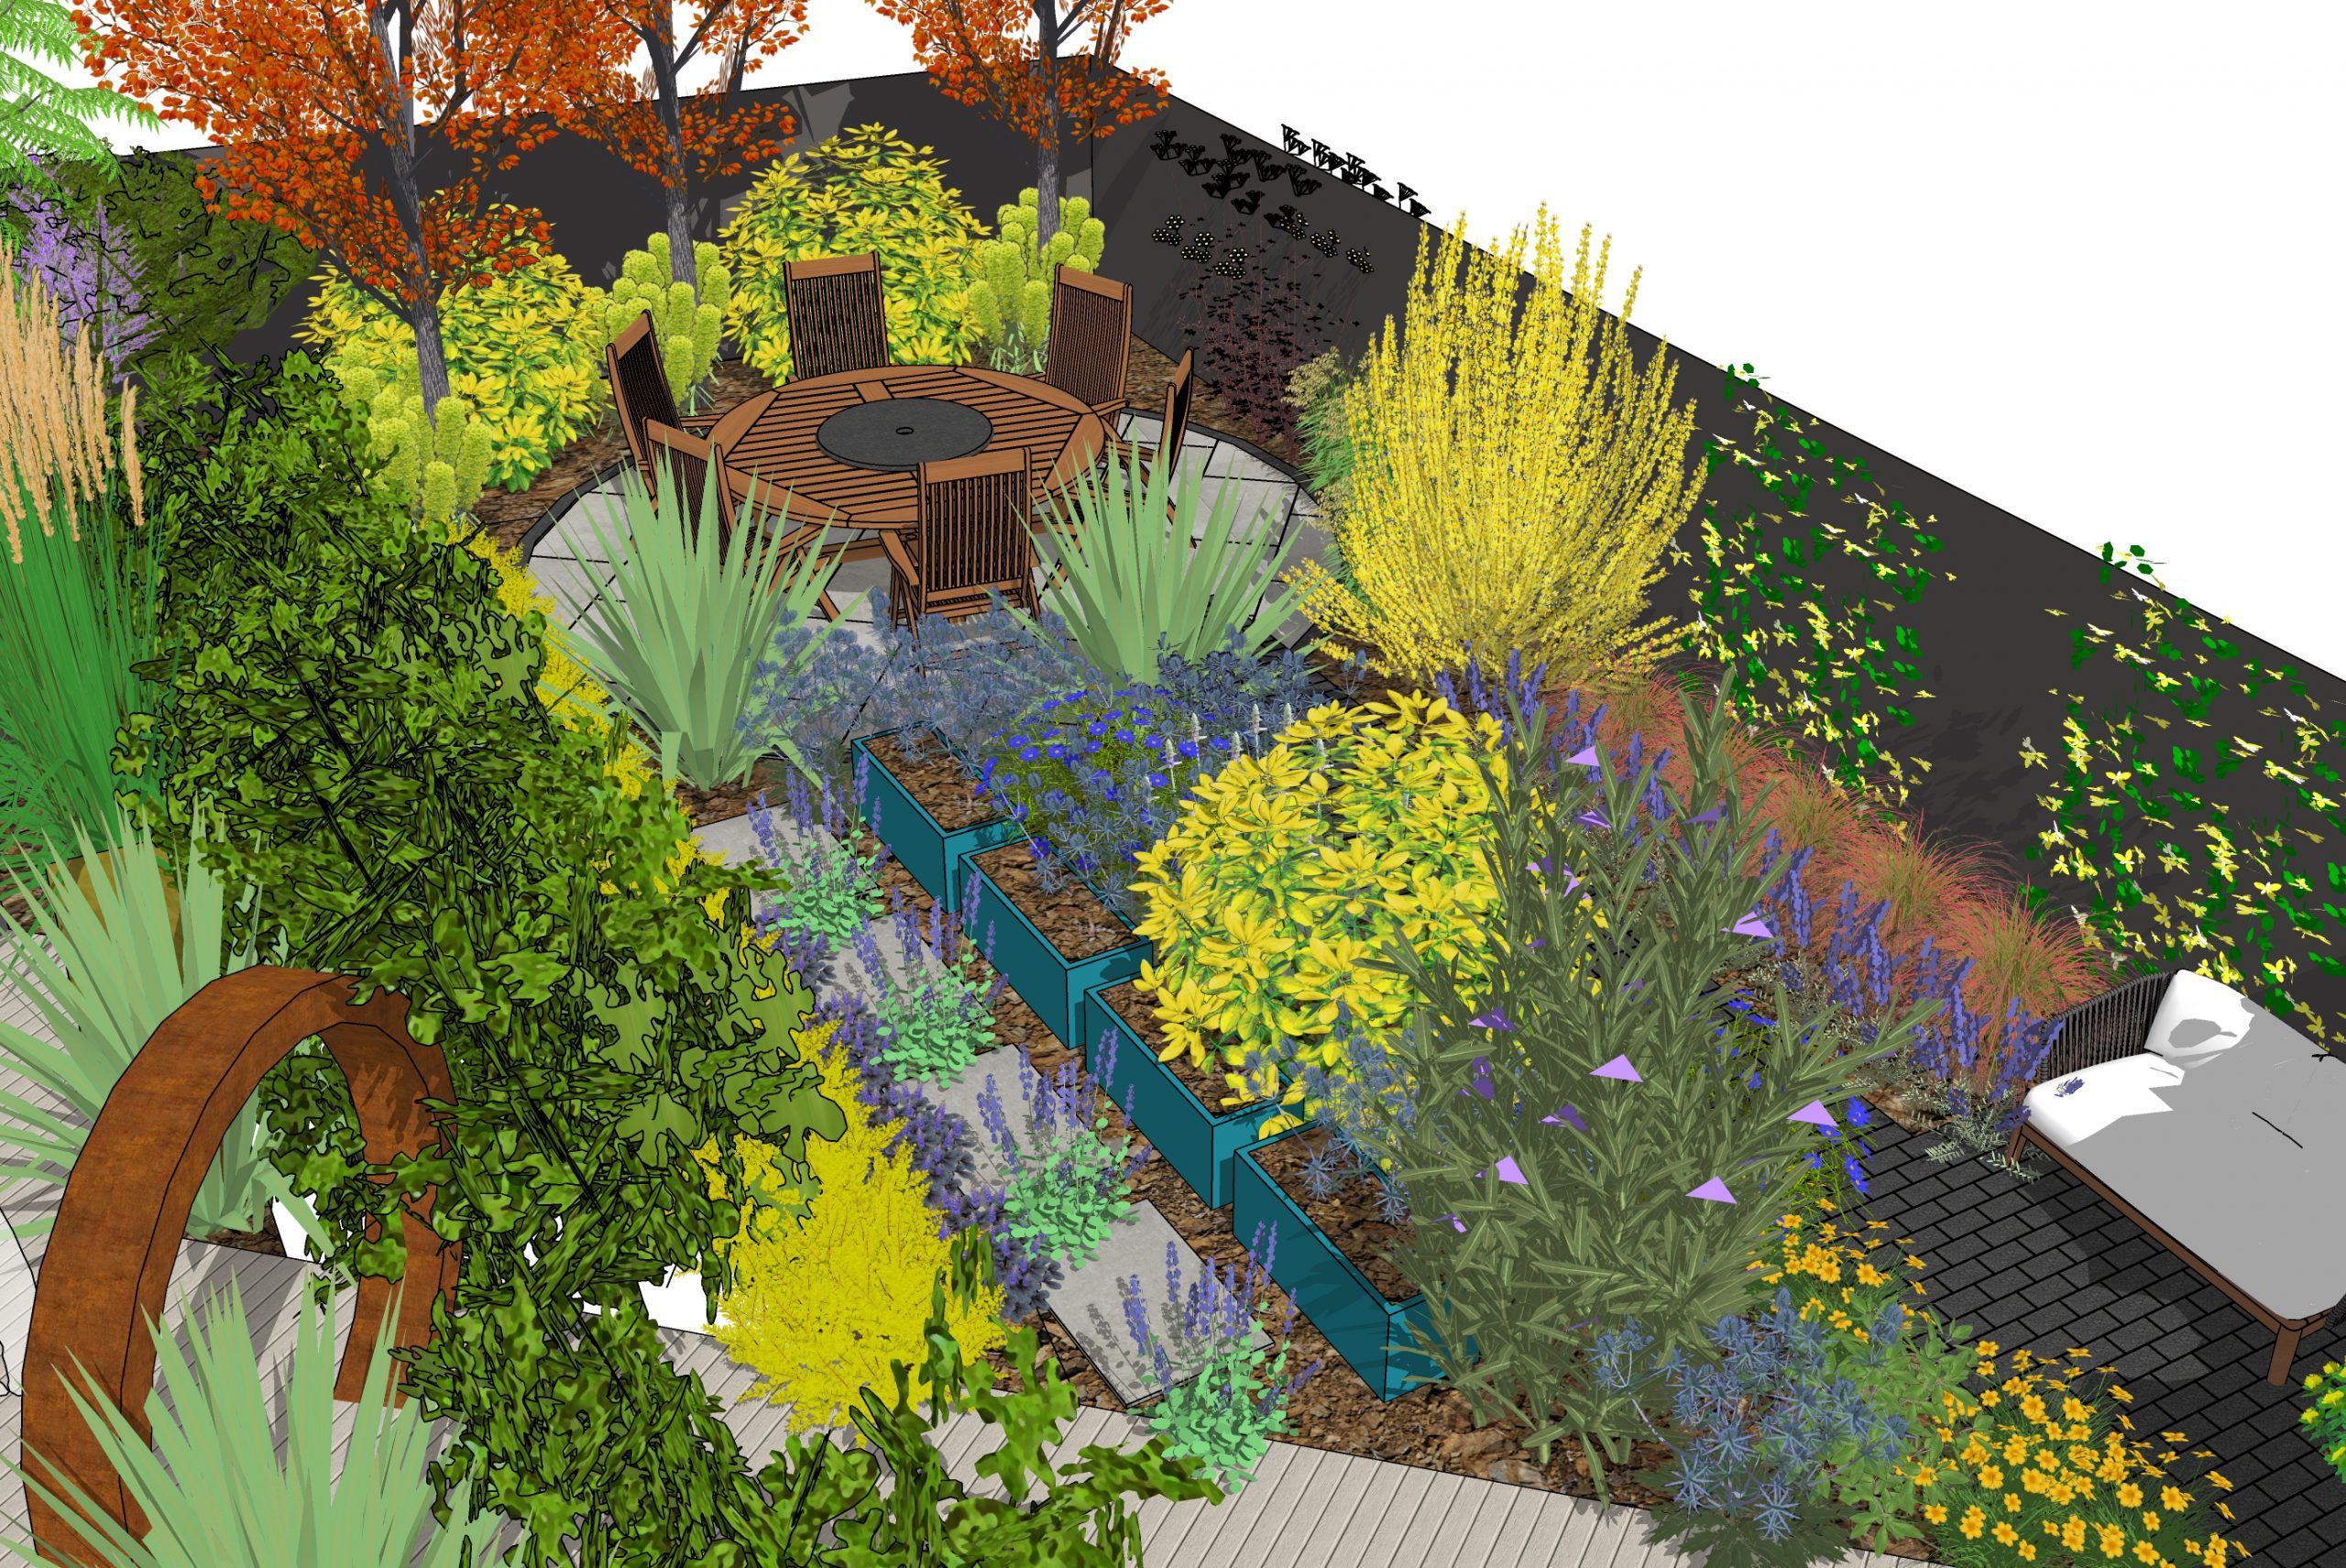
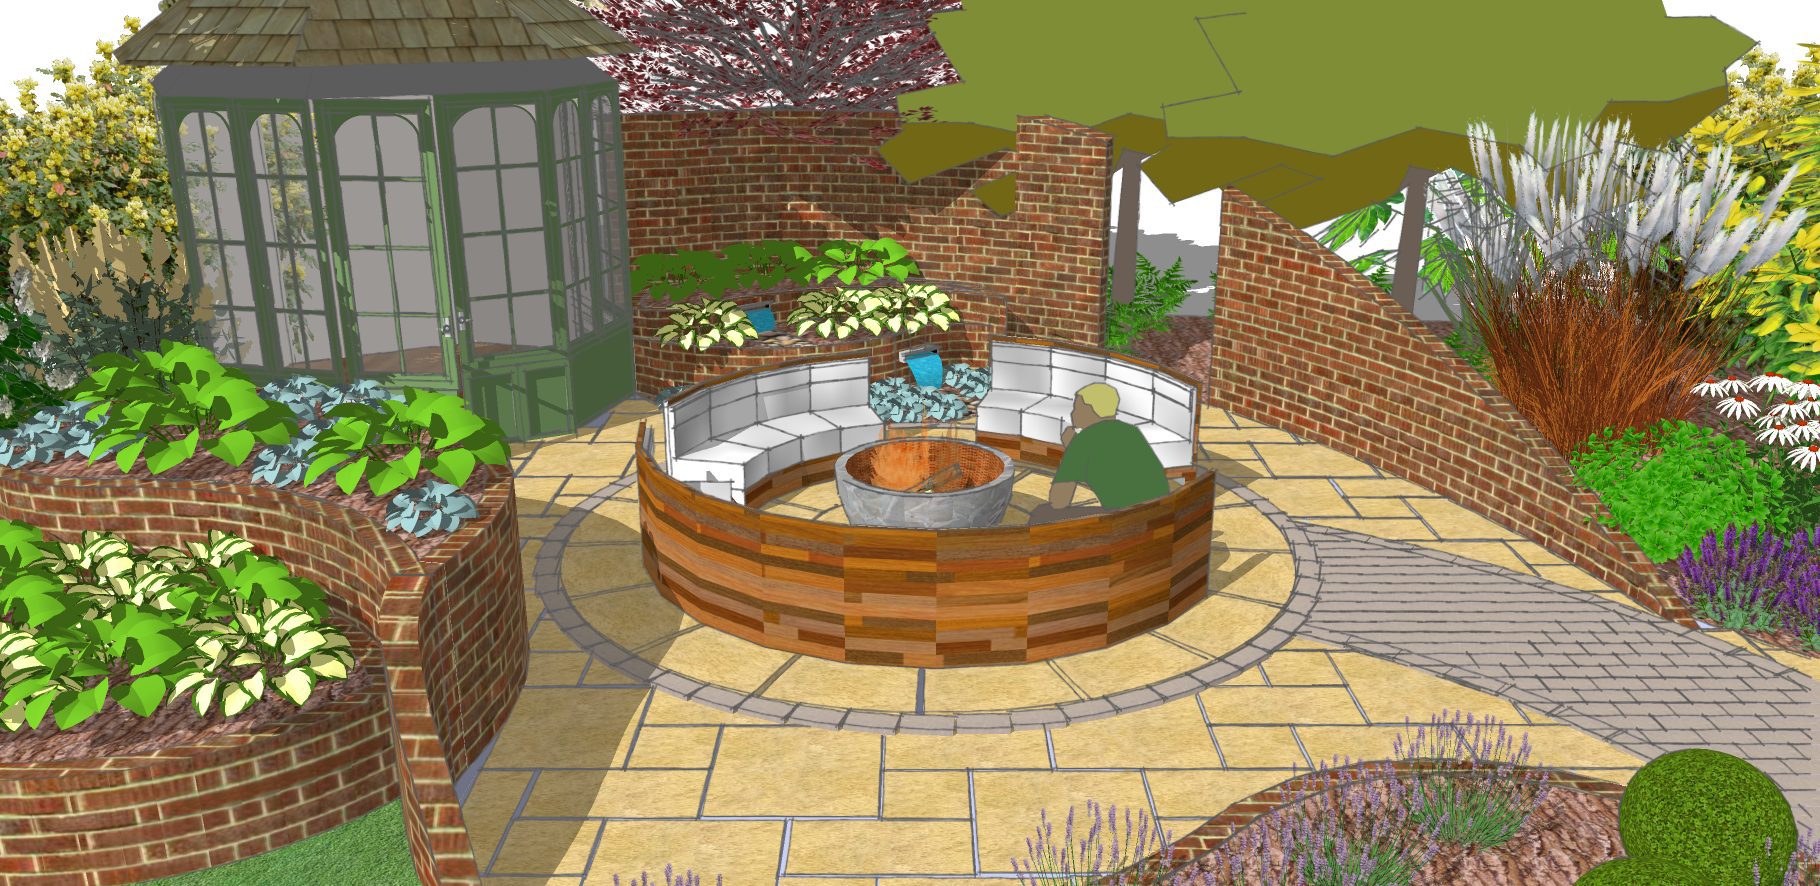
Traditional Garden Design in Essex – ED387
Traditional Garden Design in Essex Brief The garden is extremely long, however the client only wishes to focus on
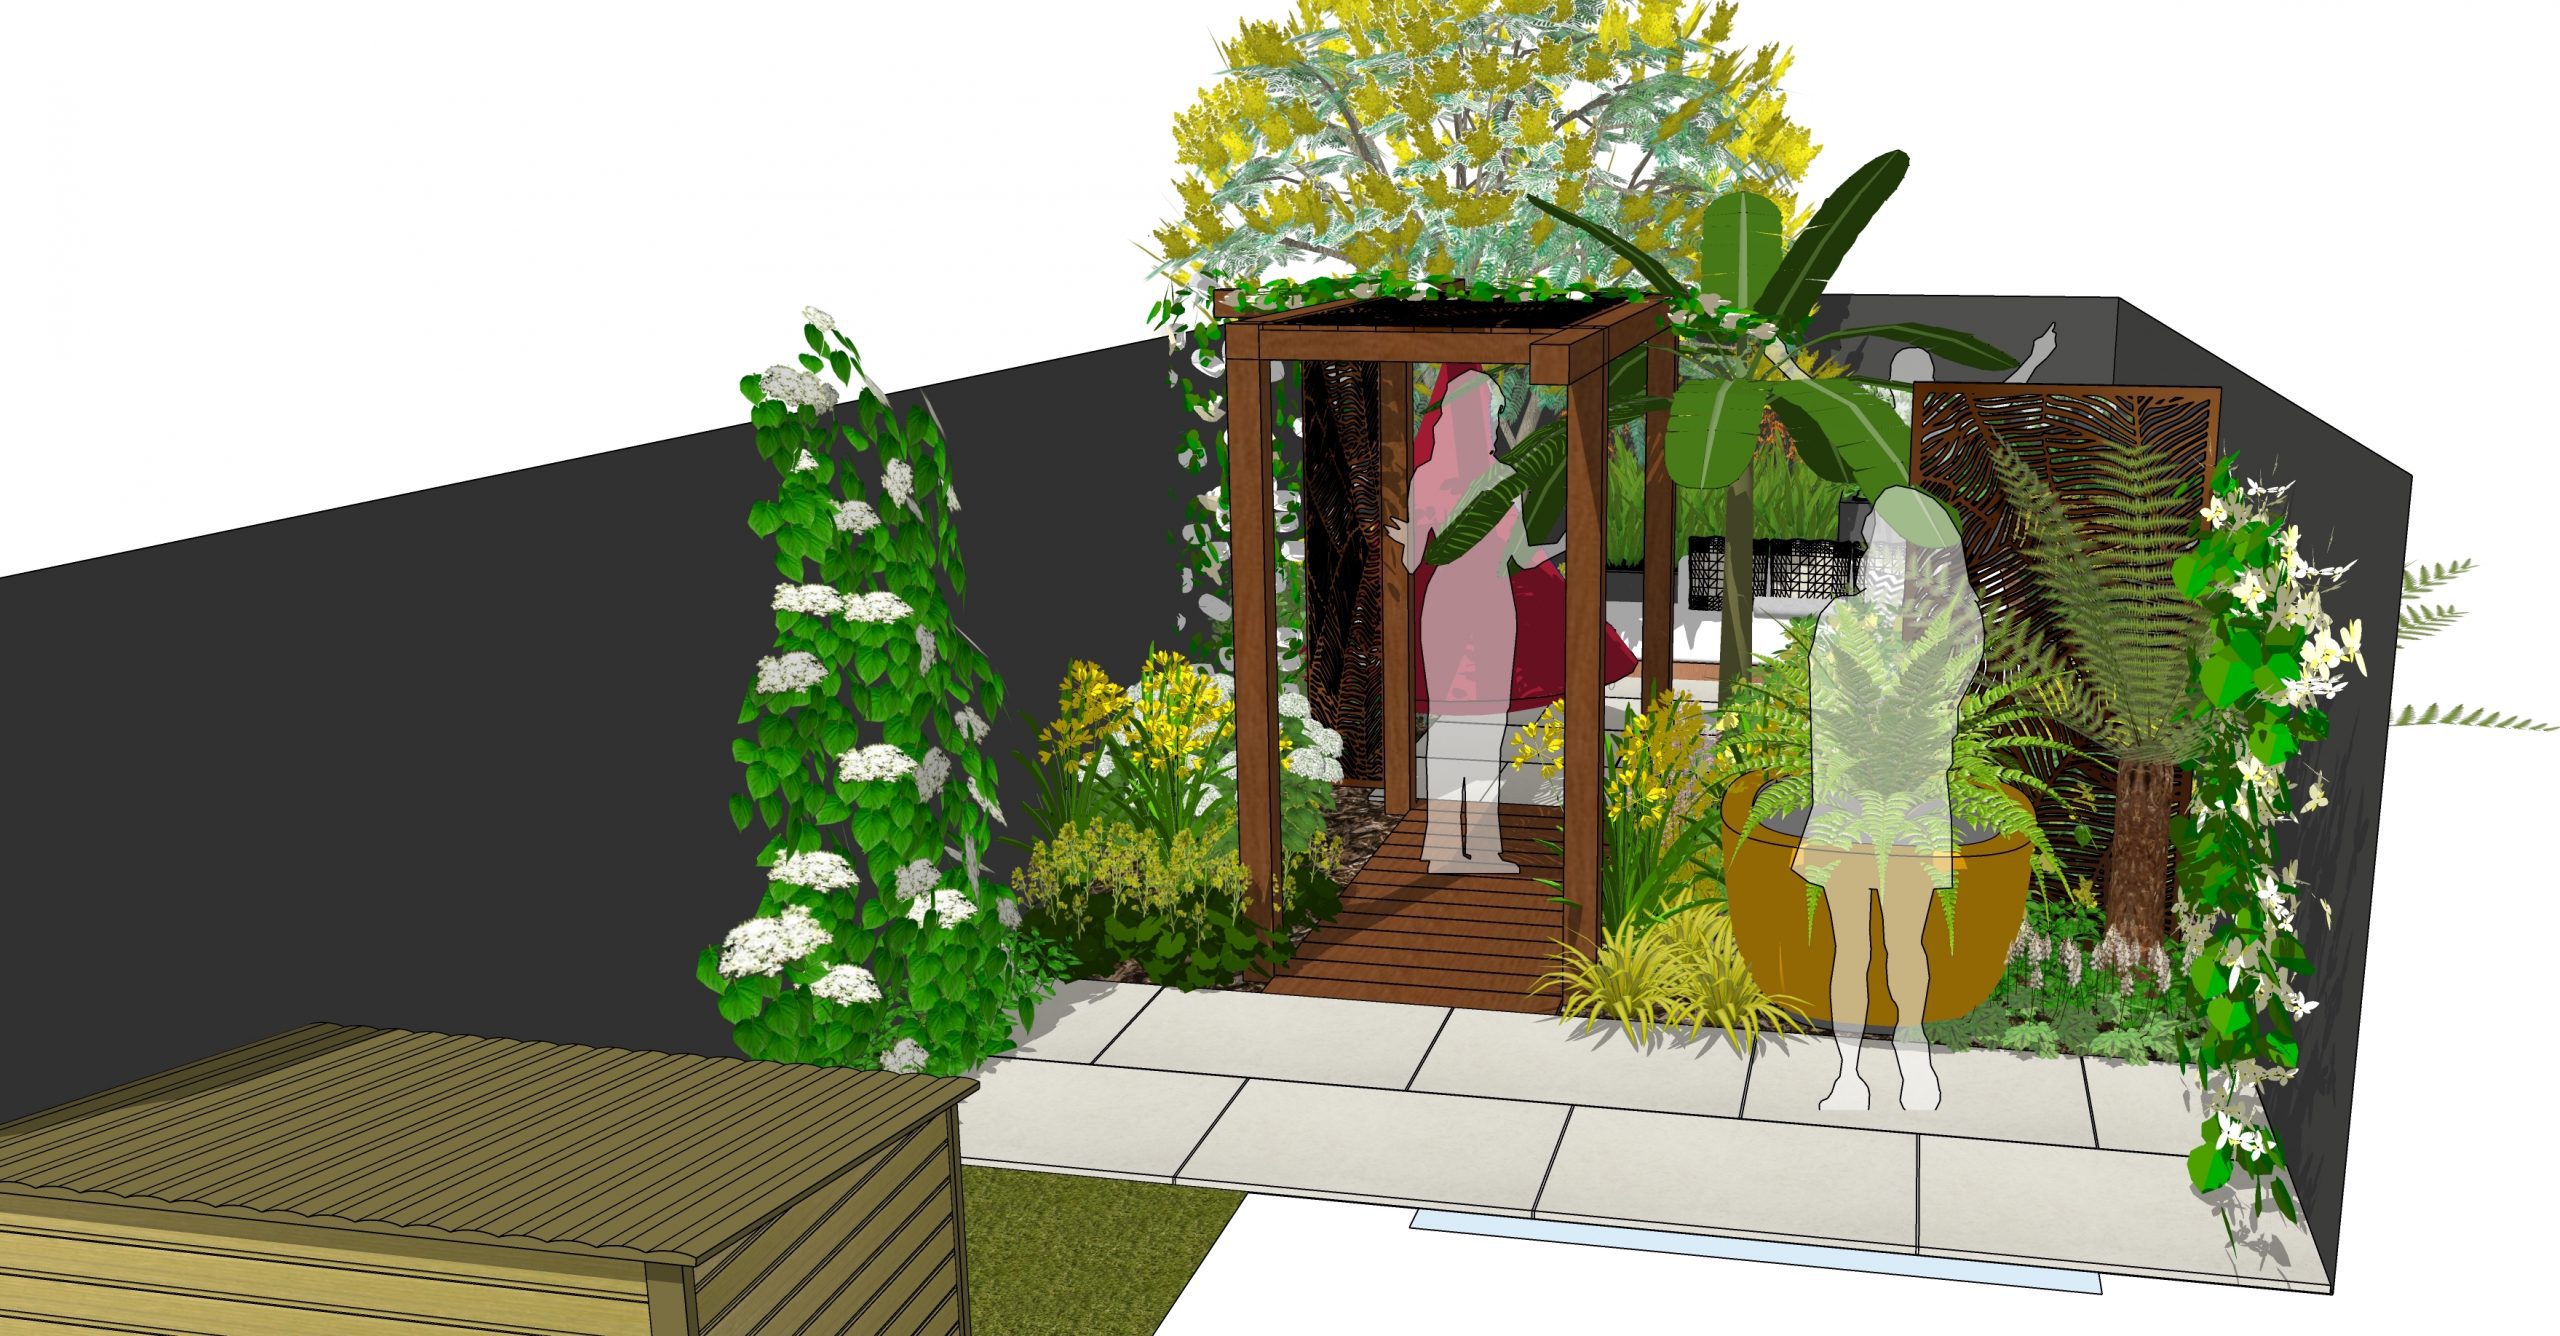
Small Leytonstone Garden Design – ED393
Small Leytonstone Garden Design Brief The client would like to revive this odd shaper outdoor space They would like
Theydon Bois Garden Design – ED401
Theydon Bois Garden Design Brief This client has completed extensive renovations to the interior of their large detached property
Stoke Newington Garden Design – ED418
Stoke Newington Garden Design Brief This client would like this narrow garden to be a more usable, family friendly
Muswell Hill Garden Design – ED408
Muswell Hill Garden Design Brief The client is now working from home and wants easy access to the office
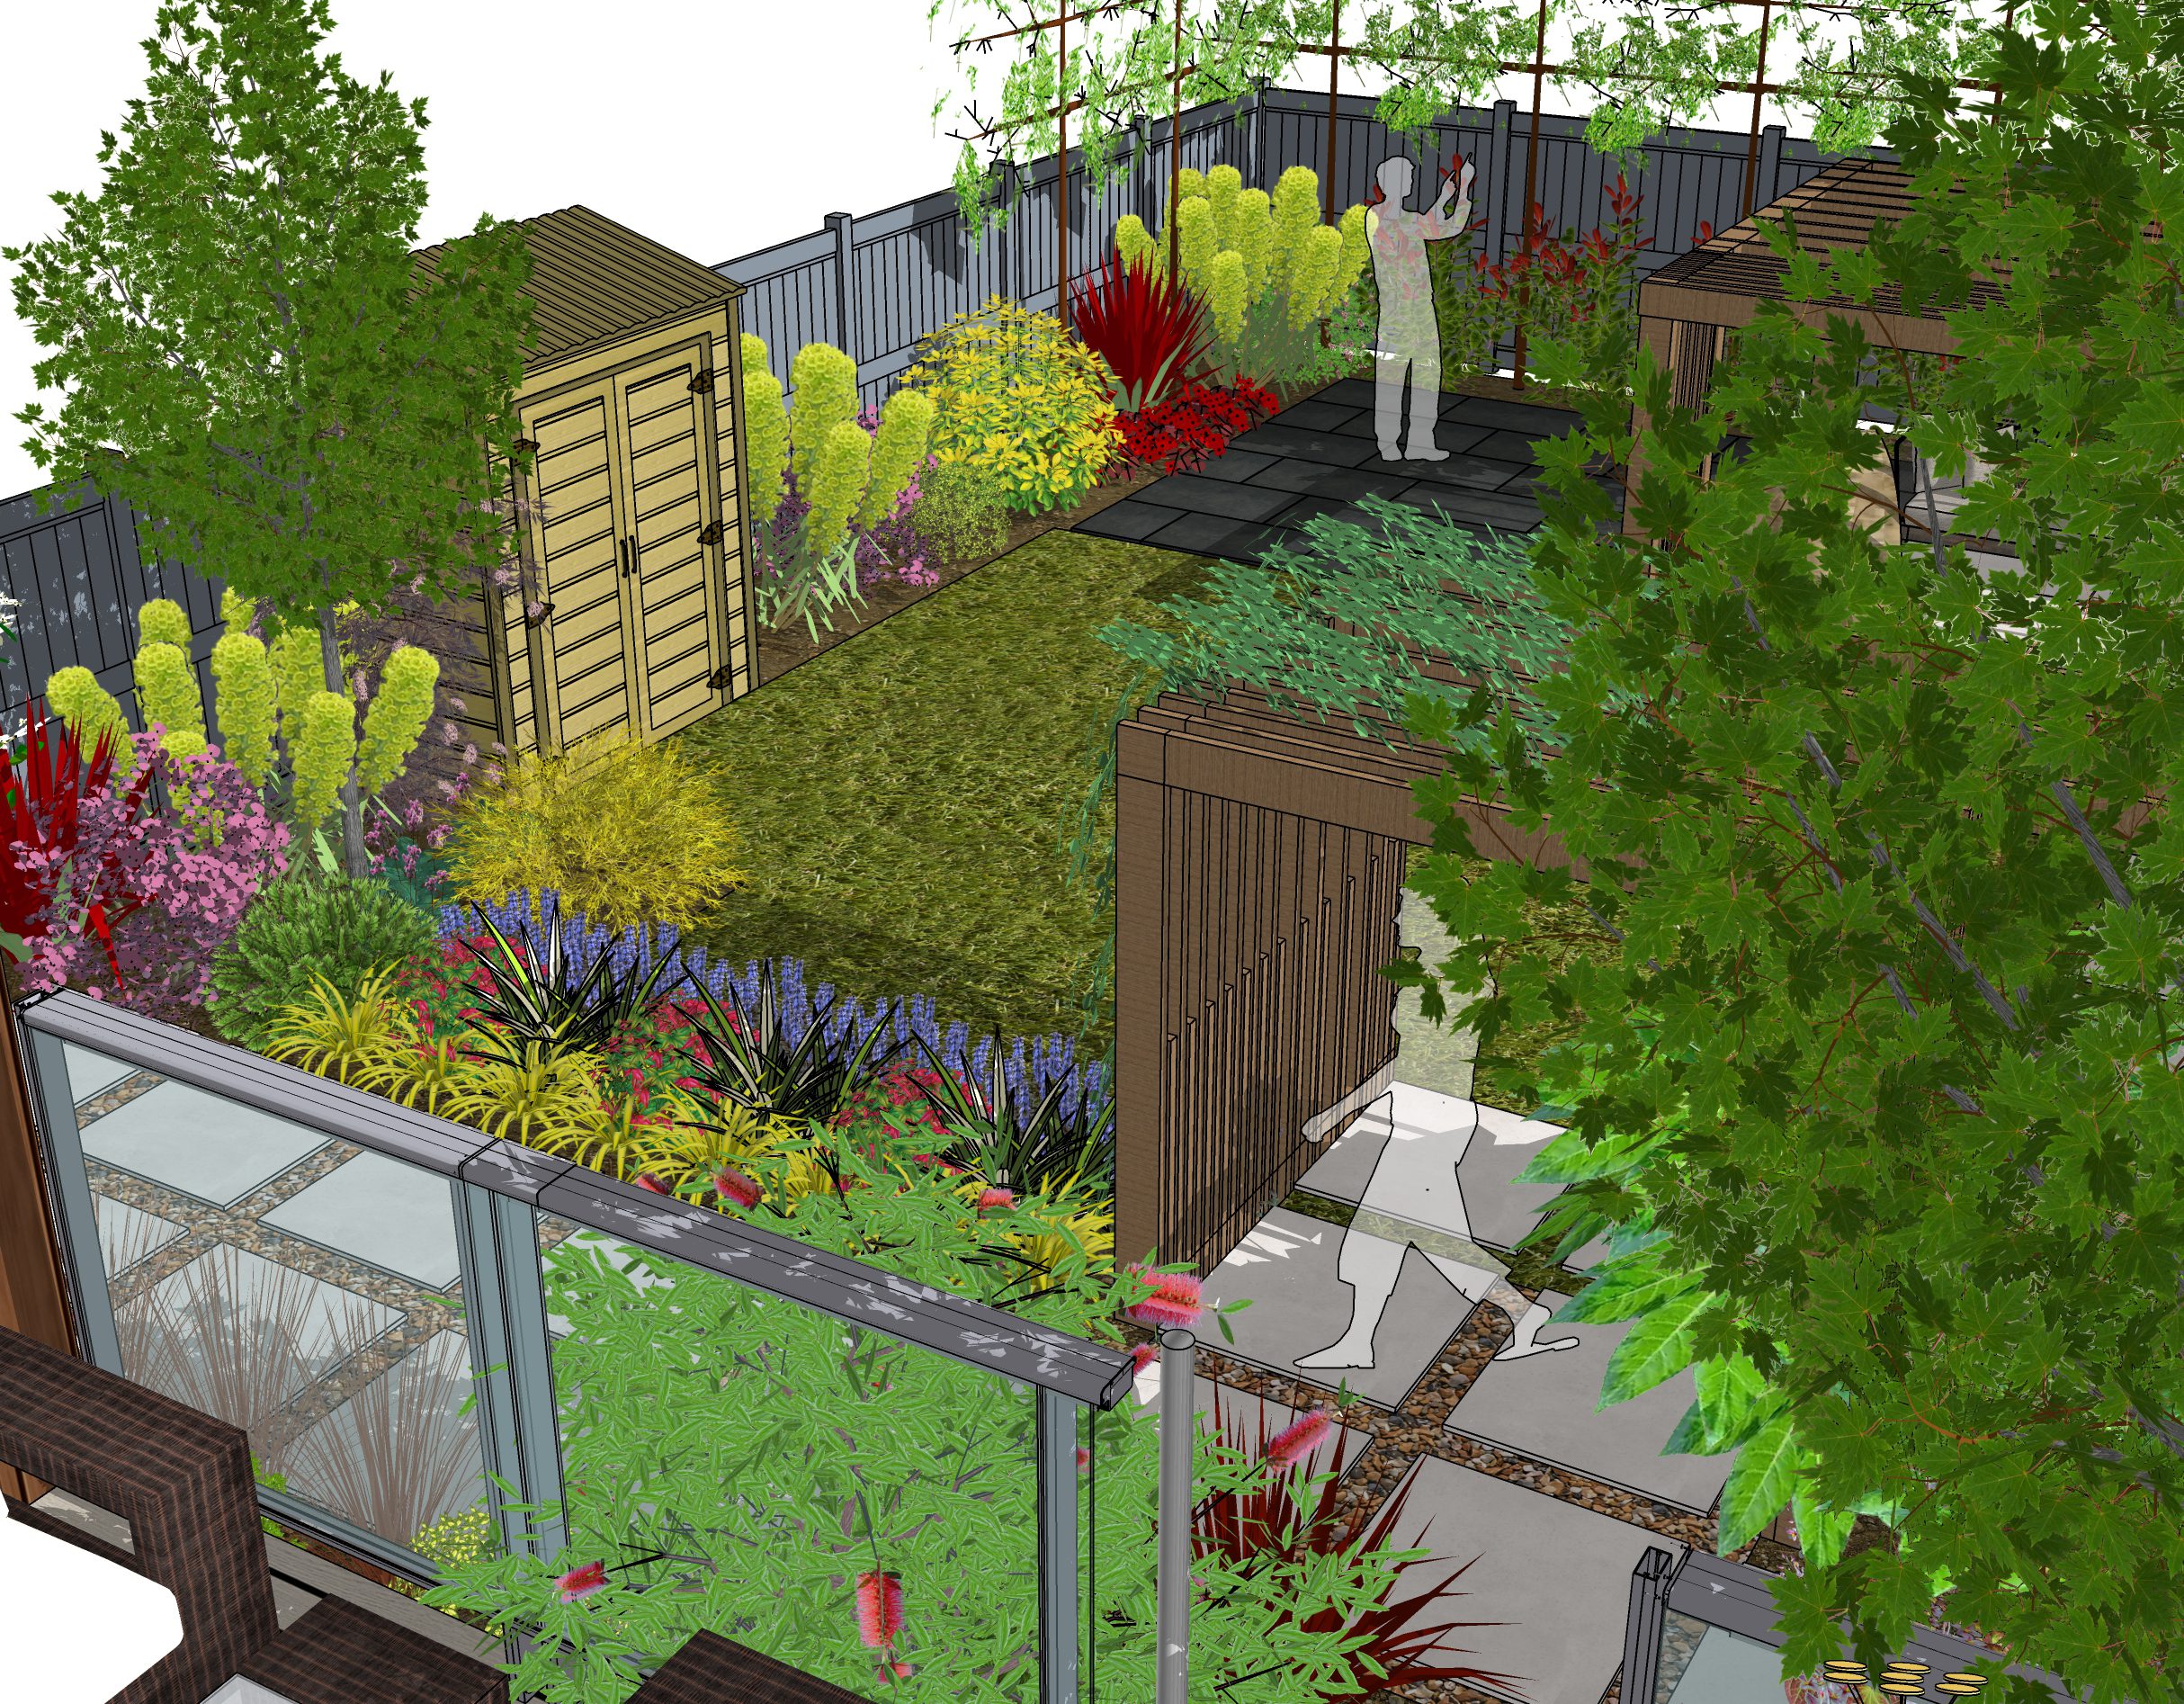
Urban Woodford Garden Design – ED395
Urban Woodford Garden Design Brief • The client is undertaking extensive renovations to the property and has already had
Garden Design Rochford – ED419
Garden Design Rochford Brief The client has created a beautiful new extension and now wants to turn her attention
Cottage Garden Design in Brentwood – ED421
Cottage Garden Design in Brentwood Brief This client is keen to make more of the rear of this mature
Woodford Garden Design – ED397
Woodford Garden Design Brief The client has extensively refurbished the rear of the property and are planning a new
Thorpe Bay Garden Design – ED382
Thorpe Bay Garden Design Brief The client has lived in this family home for several years. The patio leading
Stebbing Garden Design – ED368
Stebbing Garden Design Brief • The garden of this new build property currently contains little of interest• There
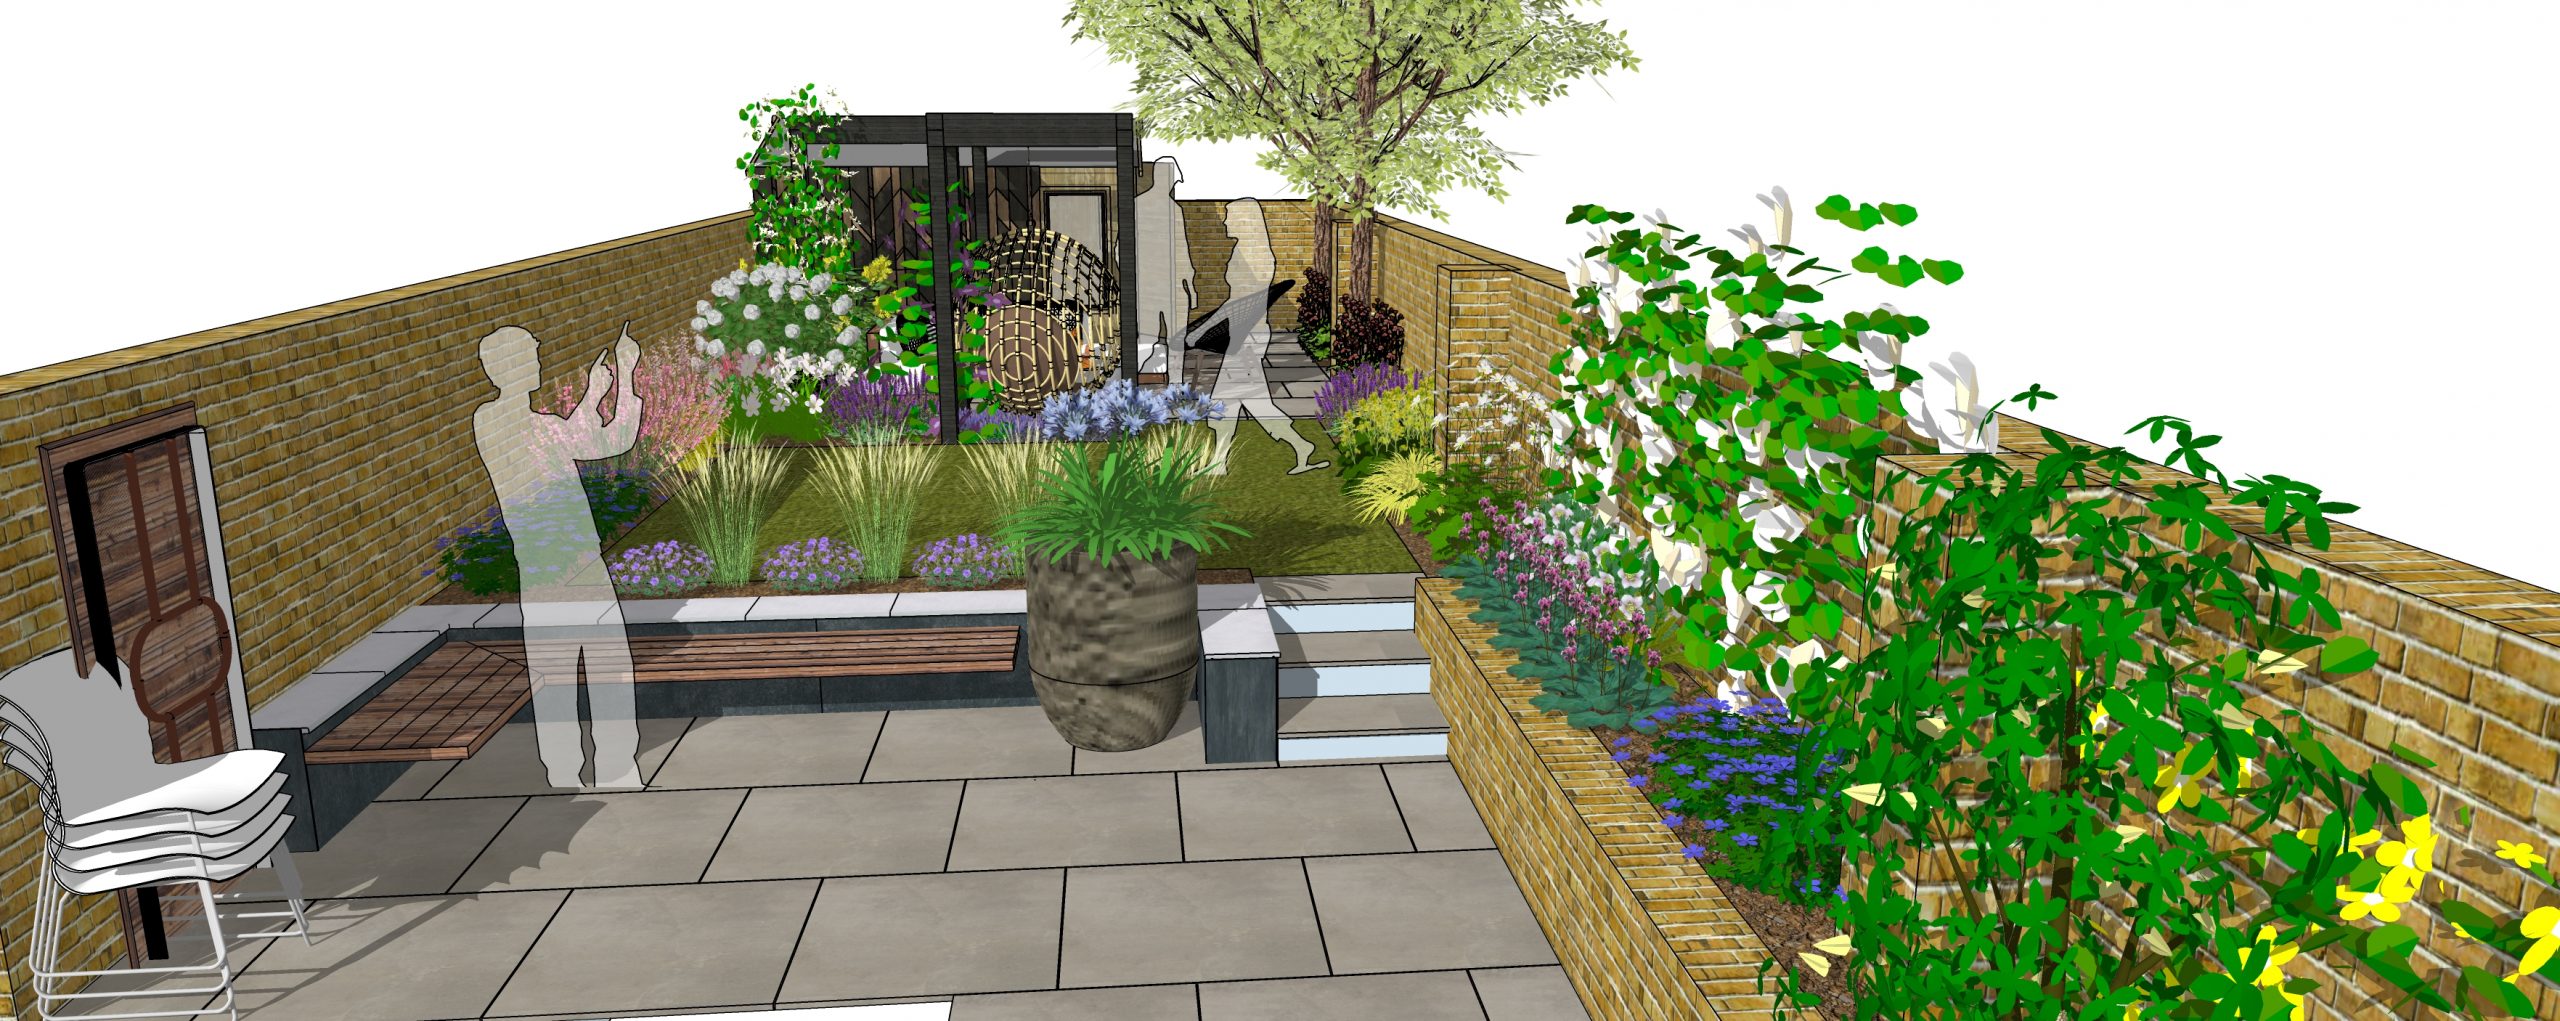
Urban Walthamstow Garden Design – ED398
Urban Walthamstow Garden Design Brief The client would like to make the most of this compact garden and create
Romford Lakeside Garden Design – ED367
Romford Lakeside Garden Design Brief This client has a long established family gardenIt is looking tired and worn out
Garden Design in Leigh on Sea – ED366
Garden Design in Leigh on Sea Brief • Create privacy across rear of garden and screen building to right
London Family Garden Design – ED357
London Family Garden Design Brief The client would like to refresh and revive their tired, underutilised garden space. They
Essex Garden Design – ED356
Essex Garden Design Brief Following the completion of an extension to the rear of the property, the client is
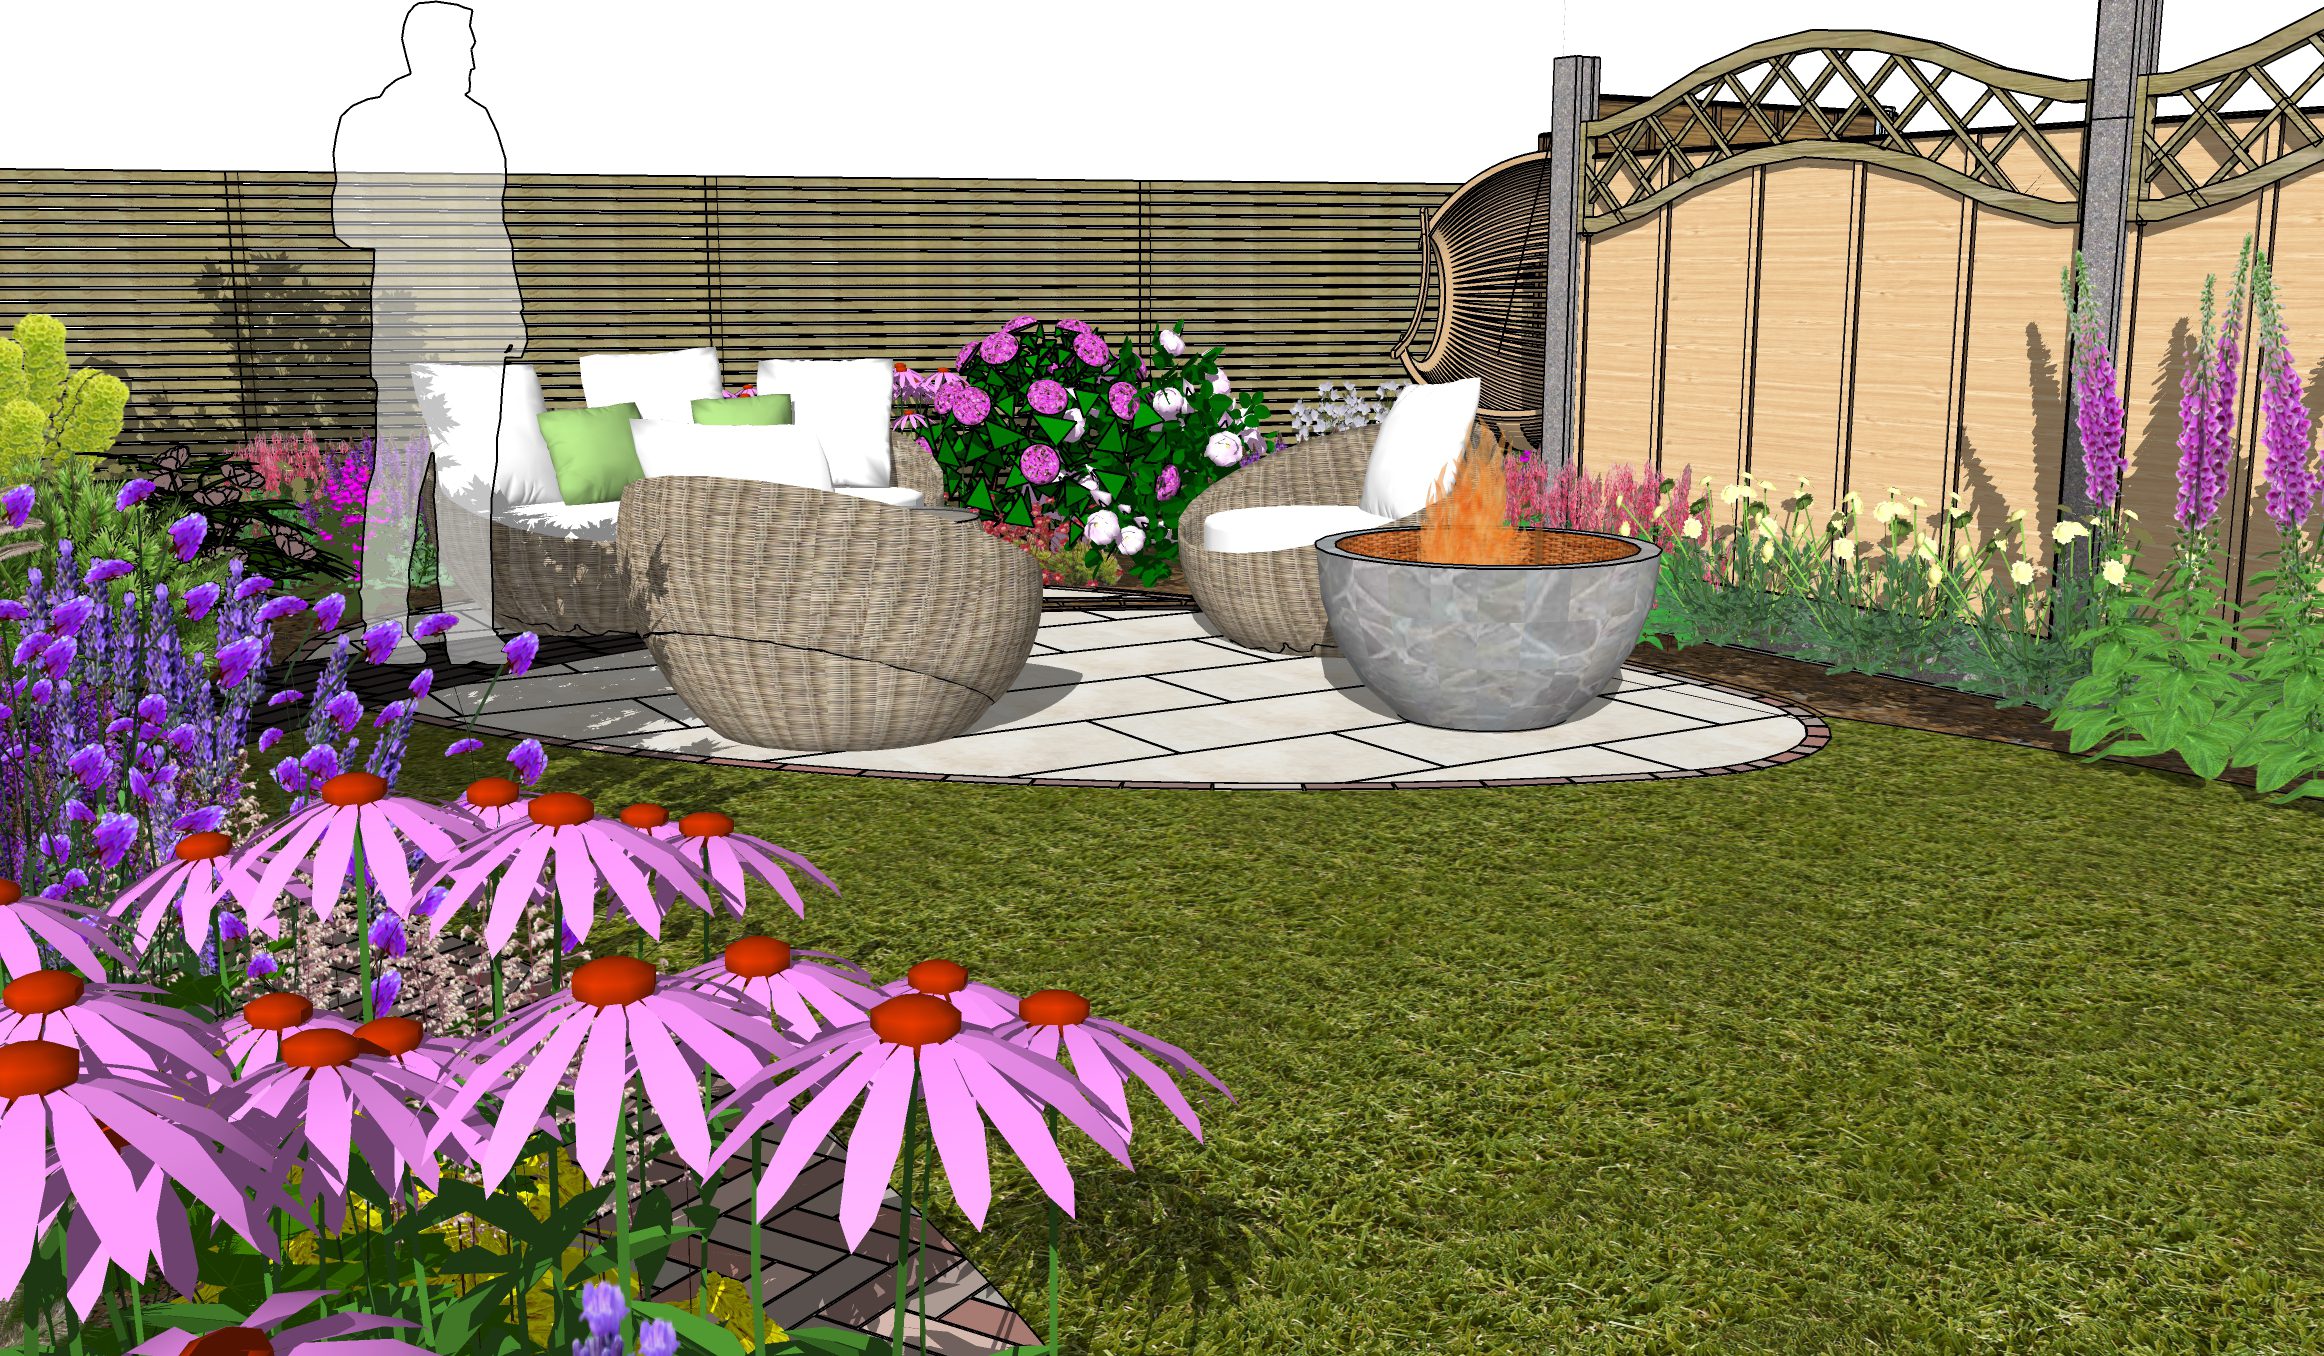
North London Garden Design – ED349
North London Garden Design Brief The client would like to use the space for entertaining friends and family. They
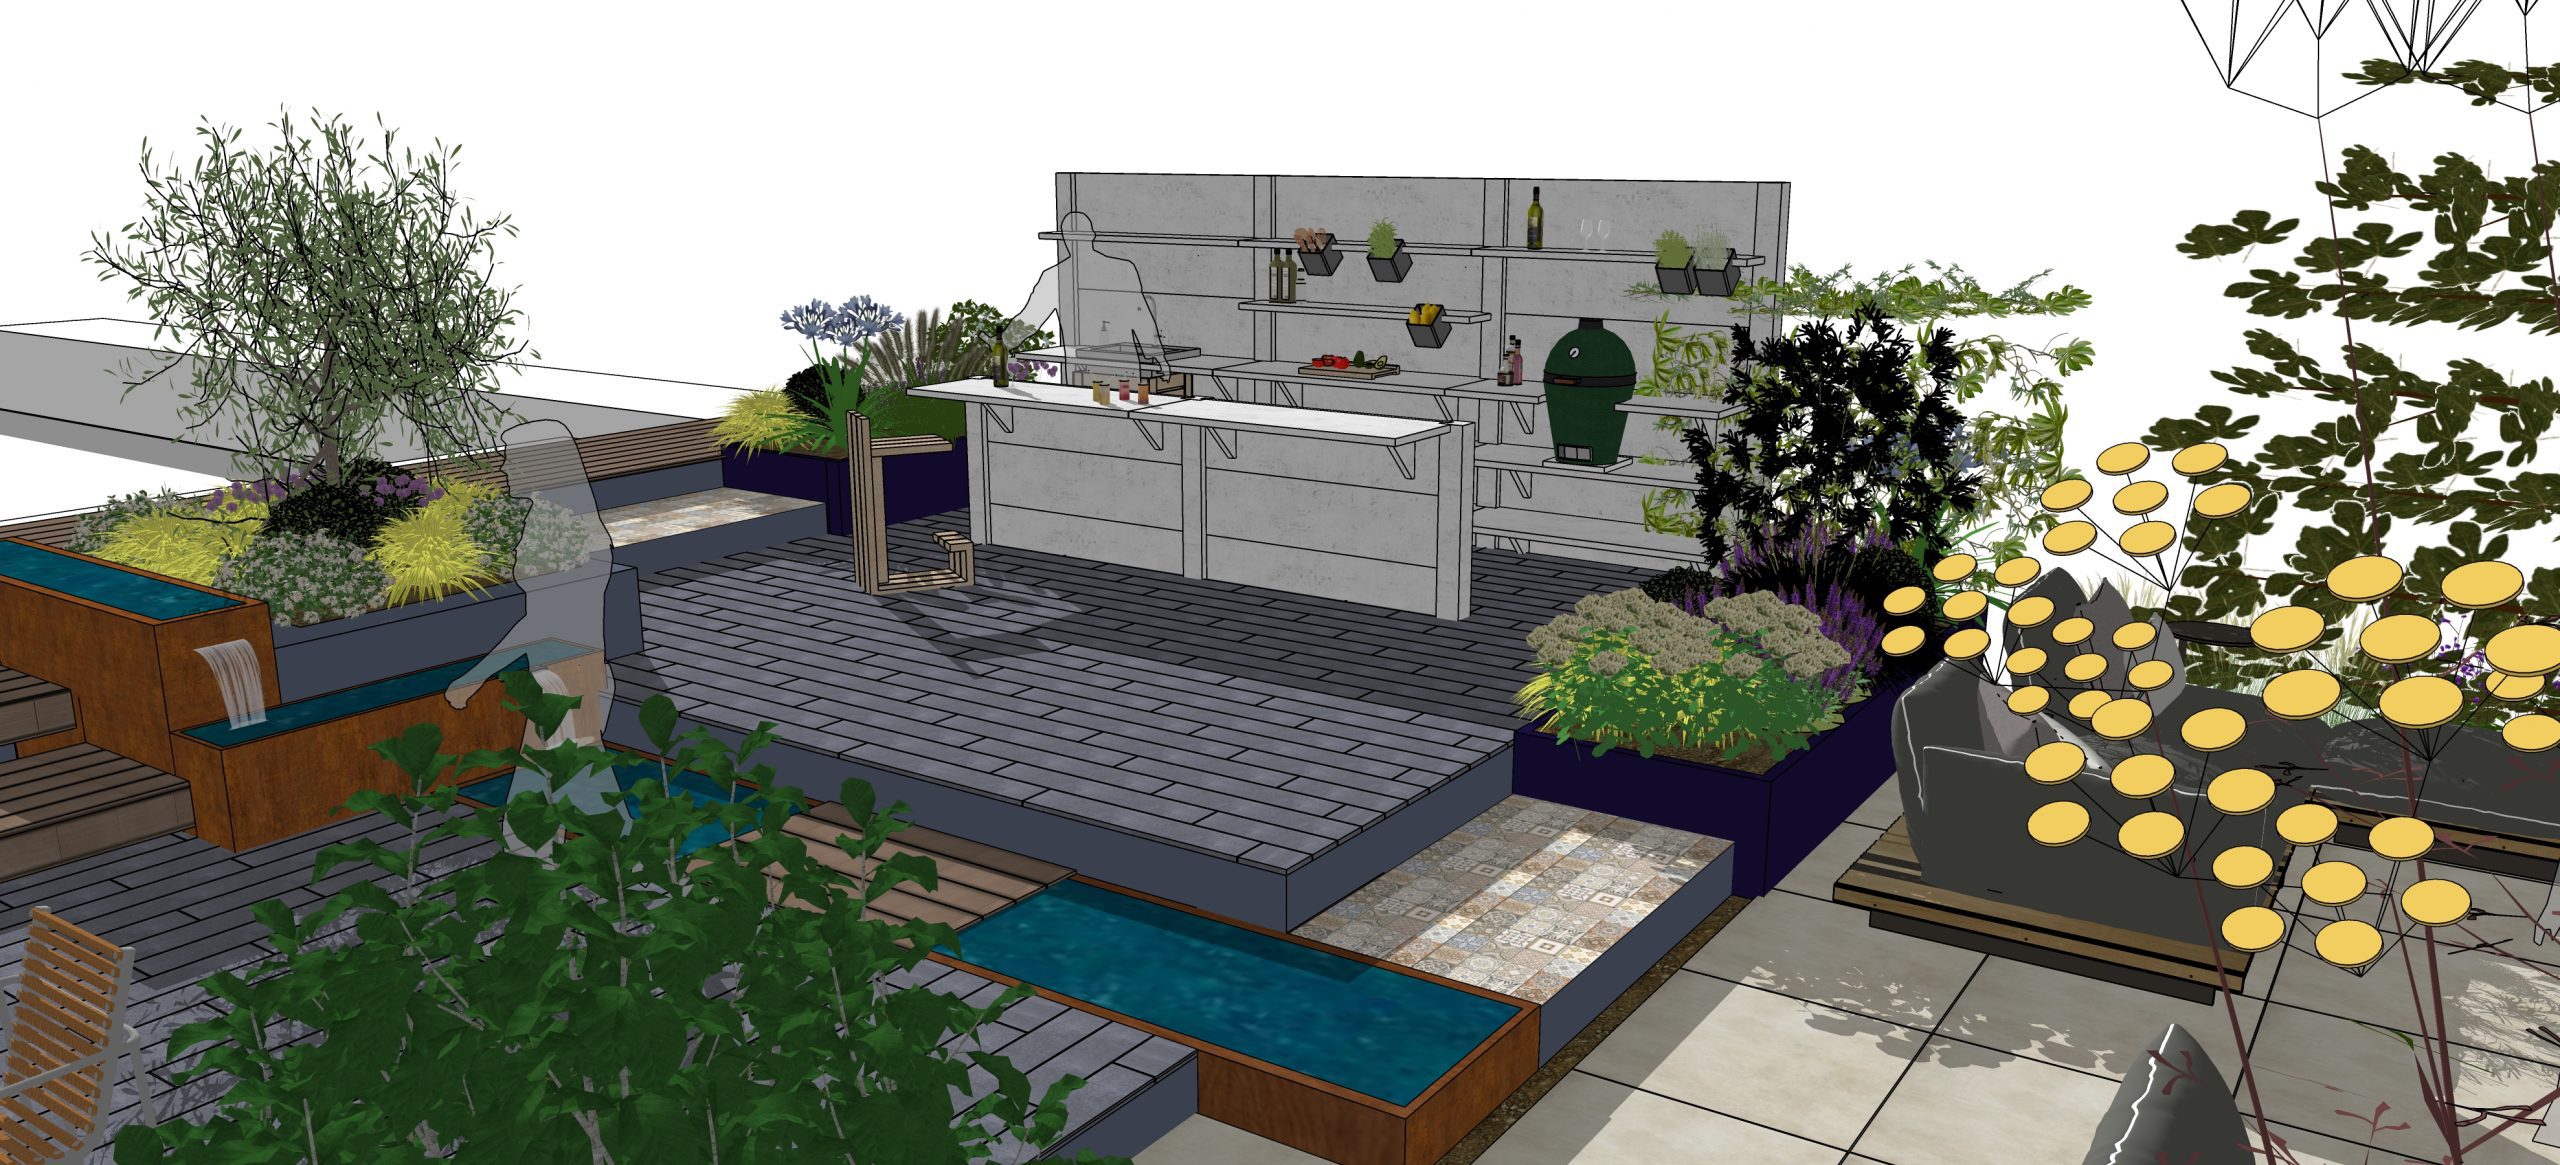
Contemporary Garden Design
Contemporary Garden Design This client has lived in their family home for several years. The garden is currently well
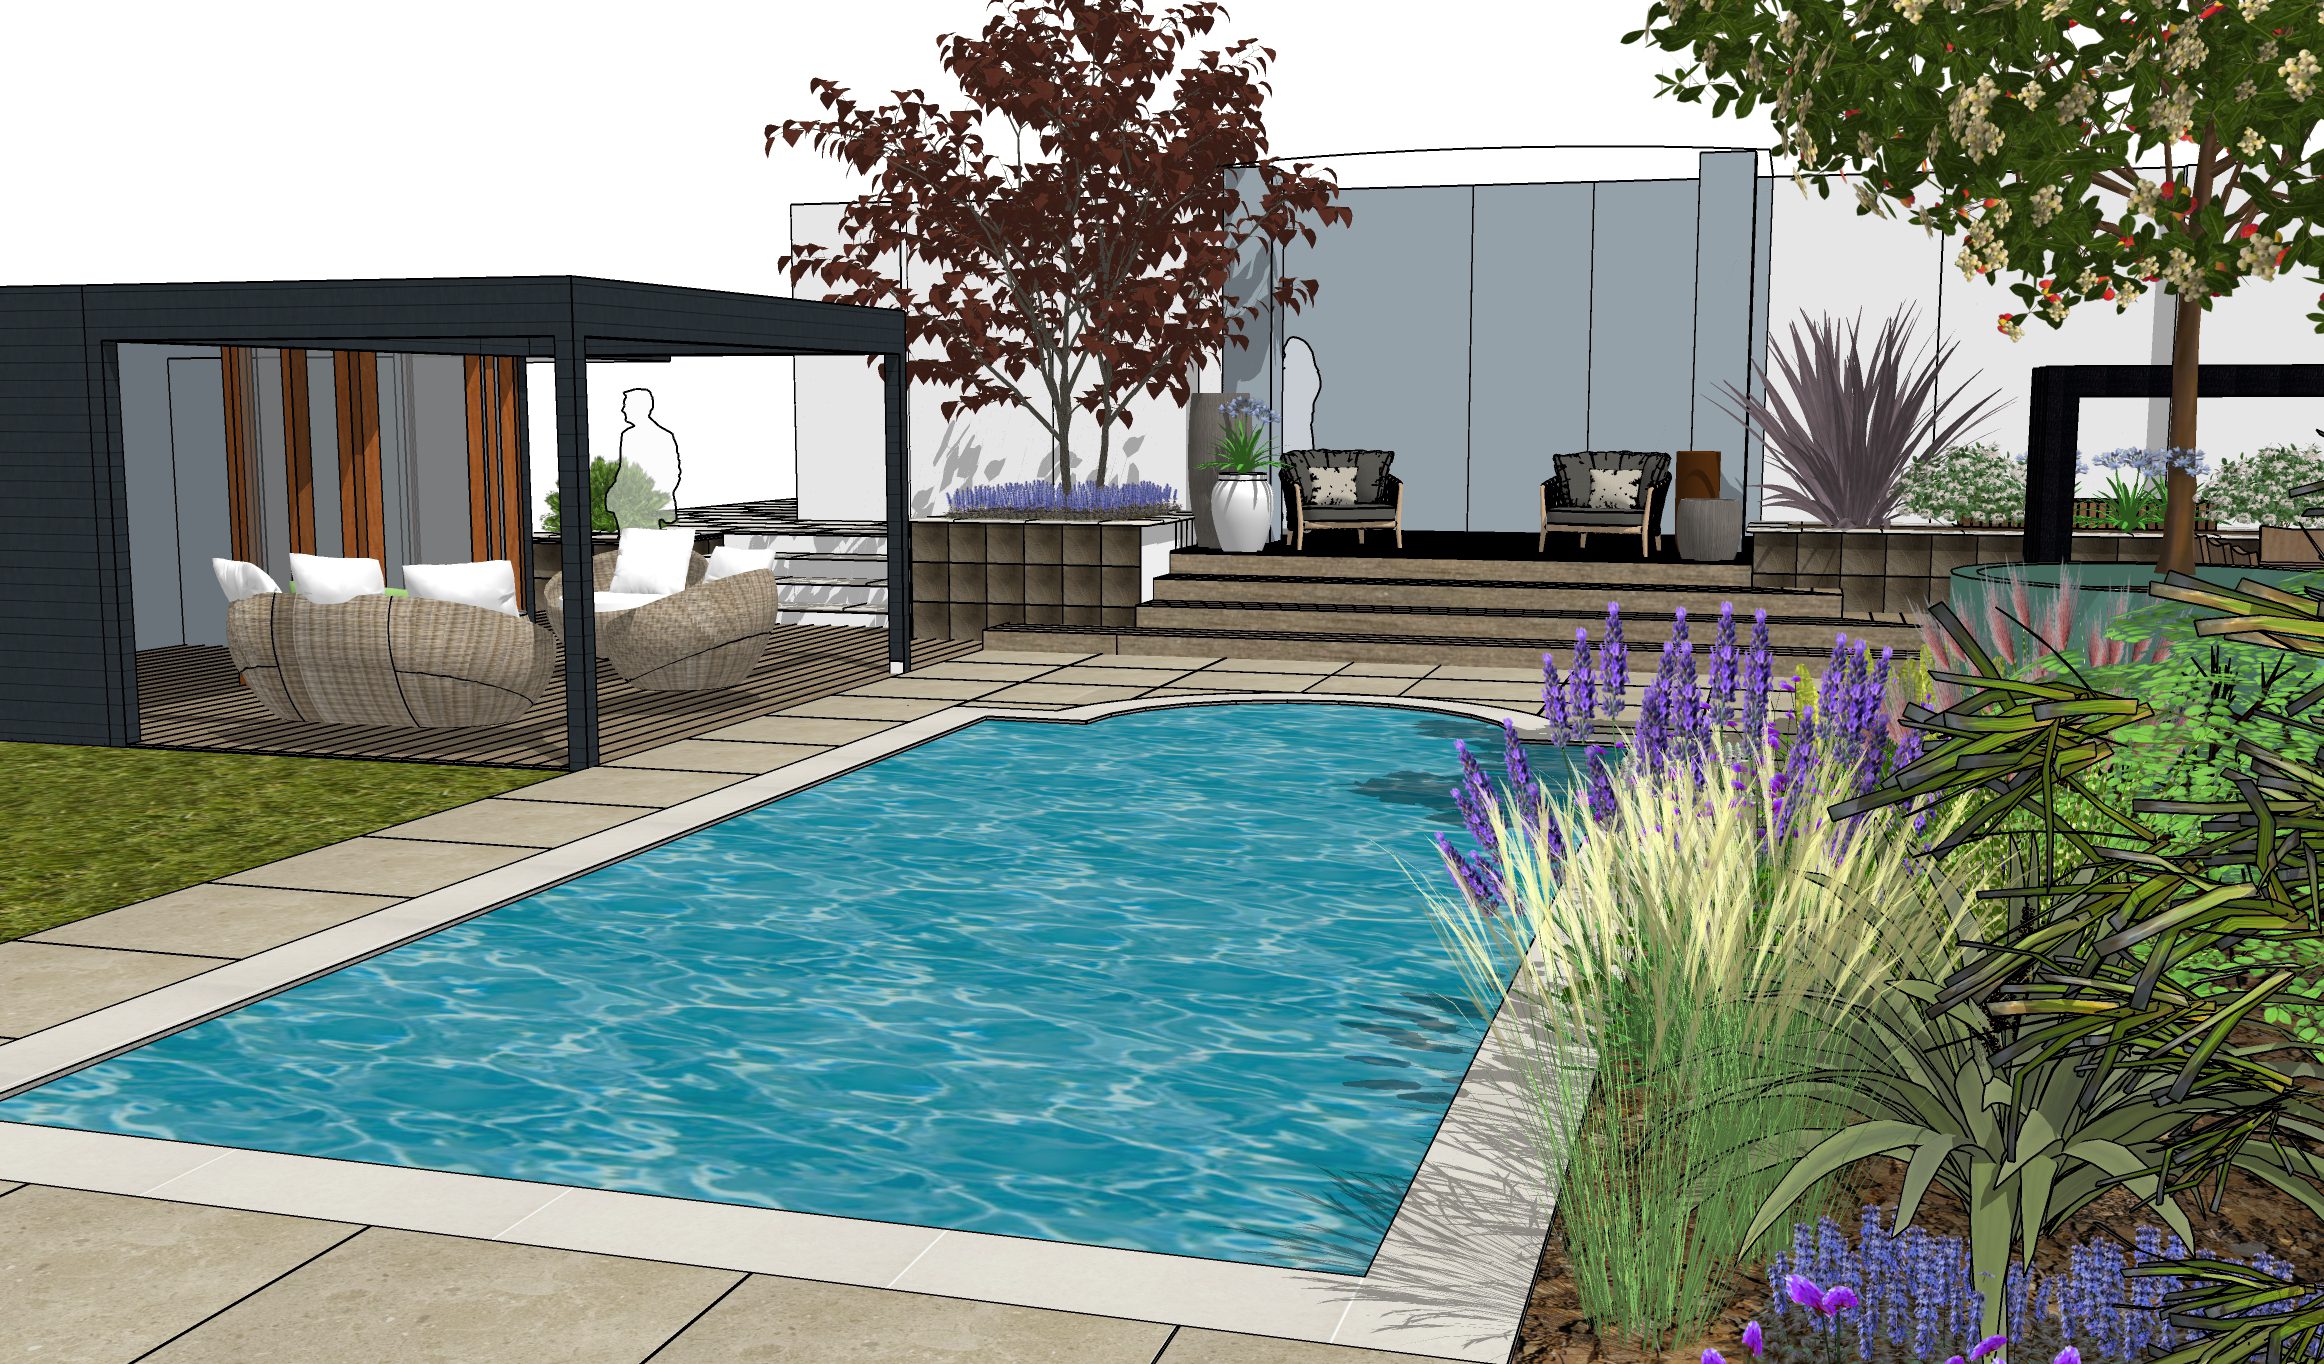
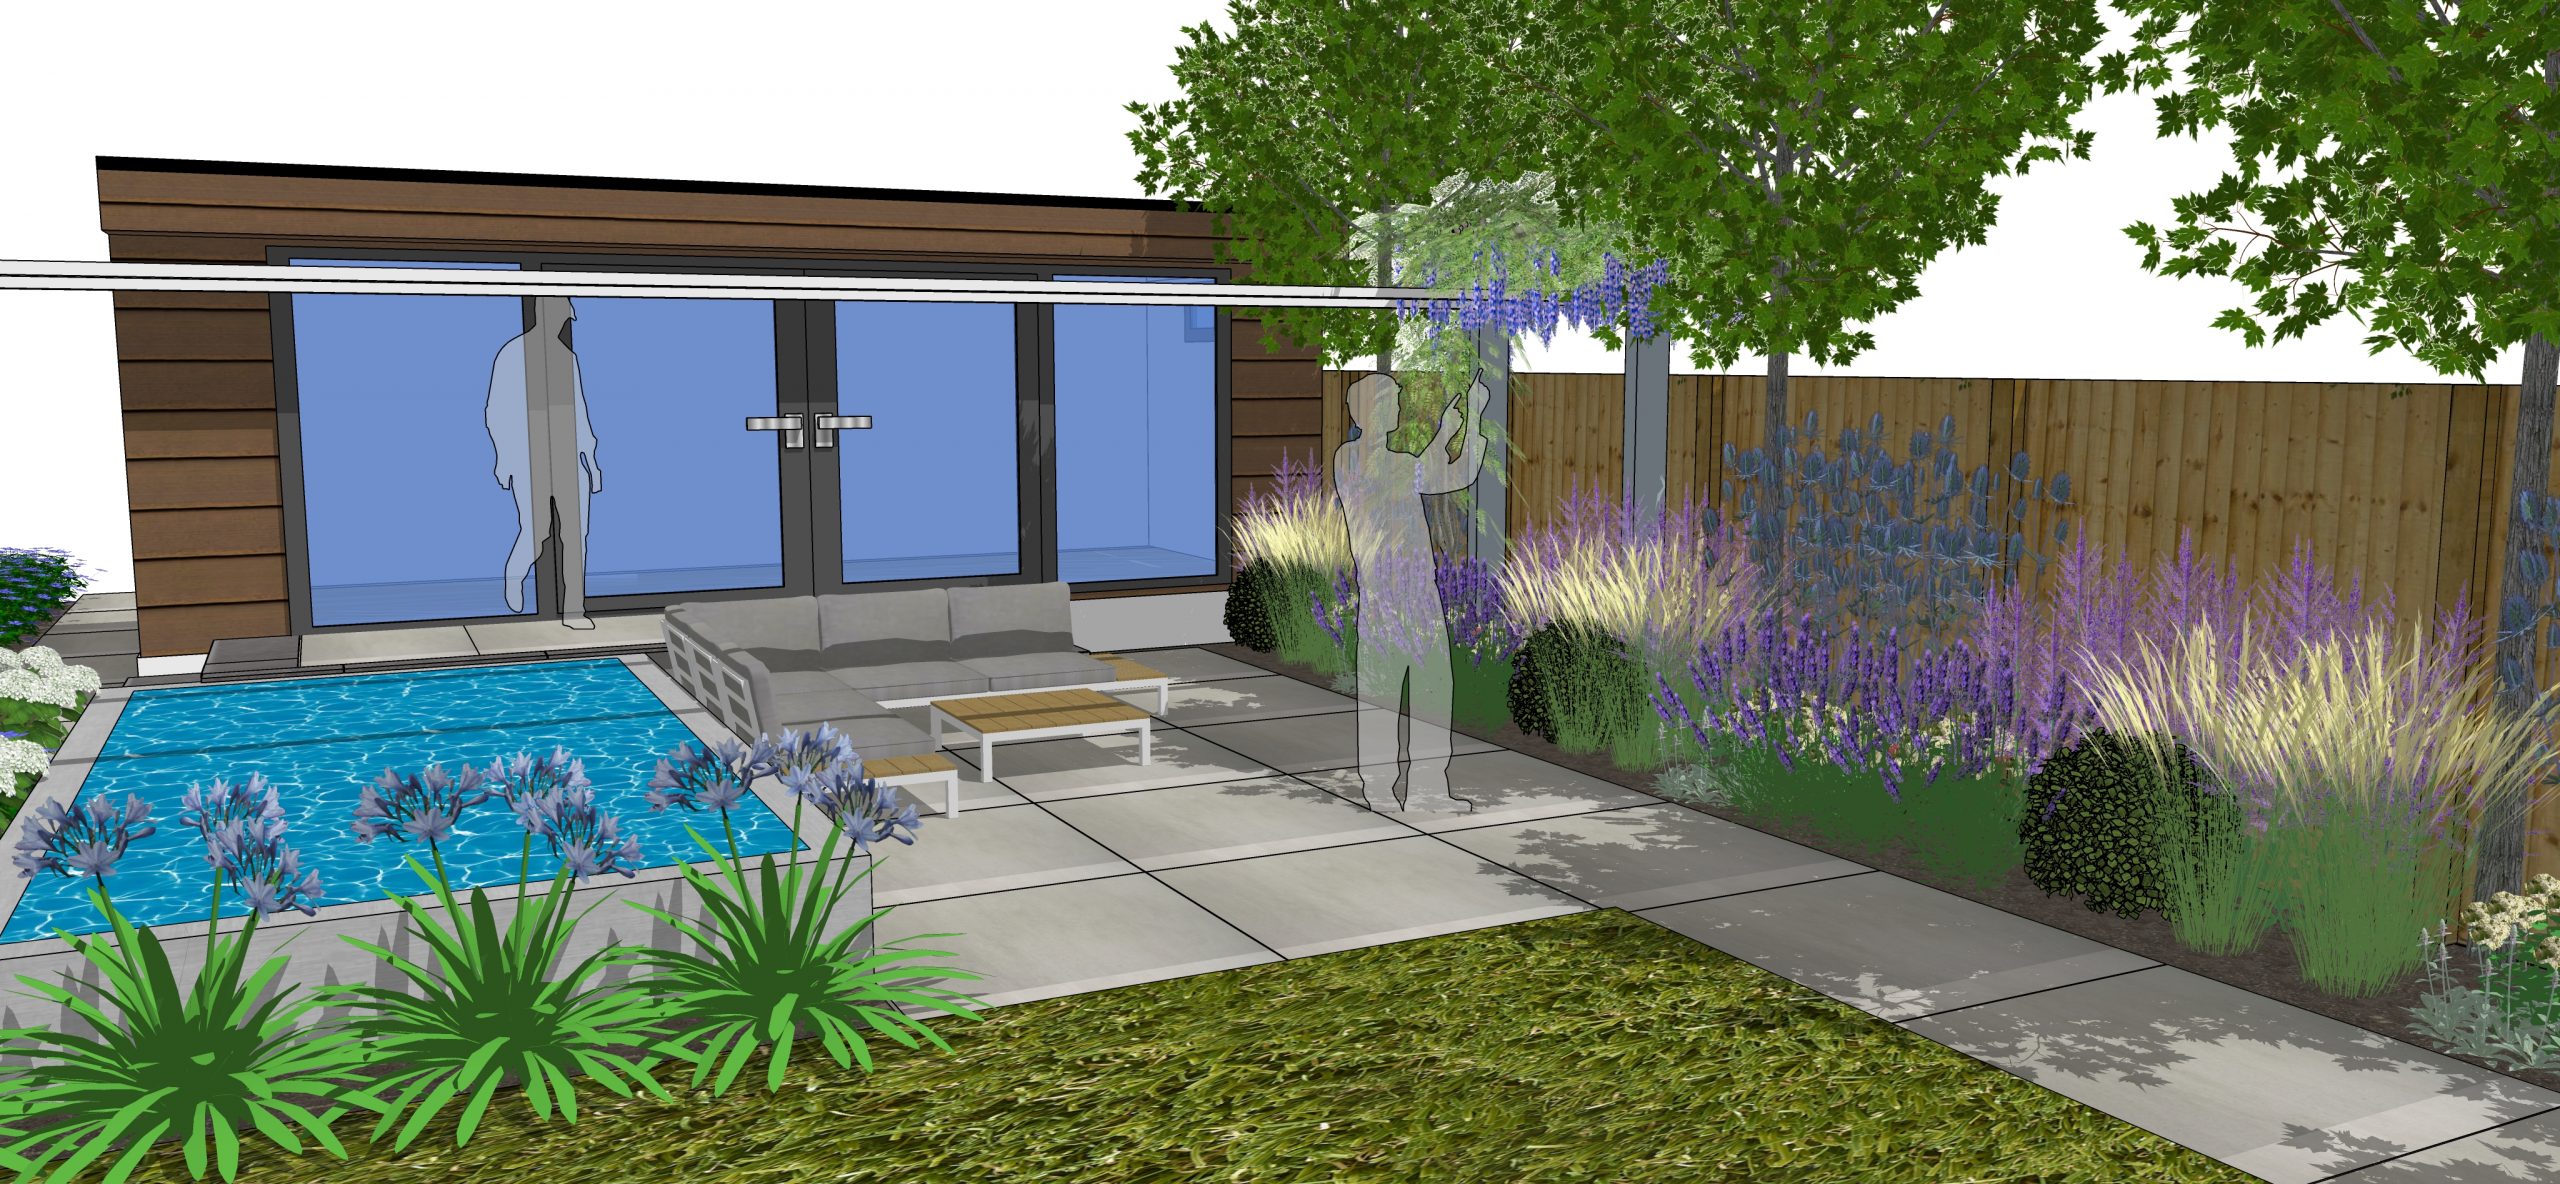
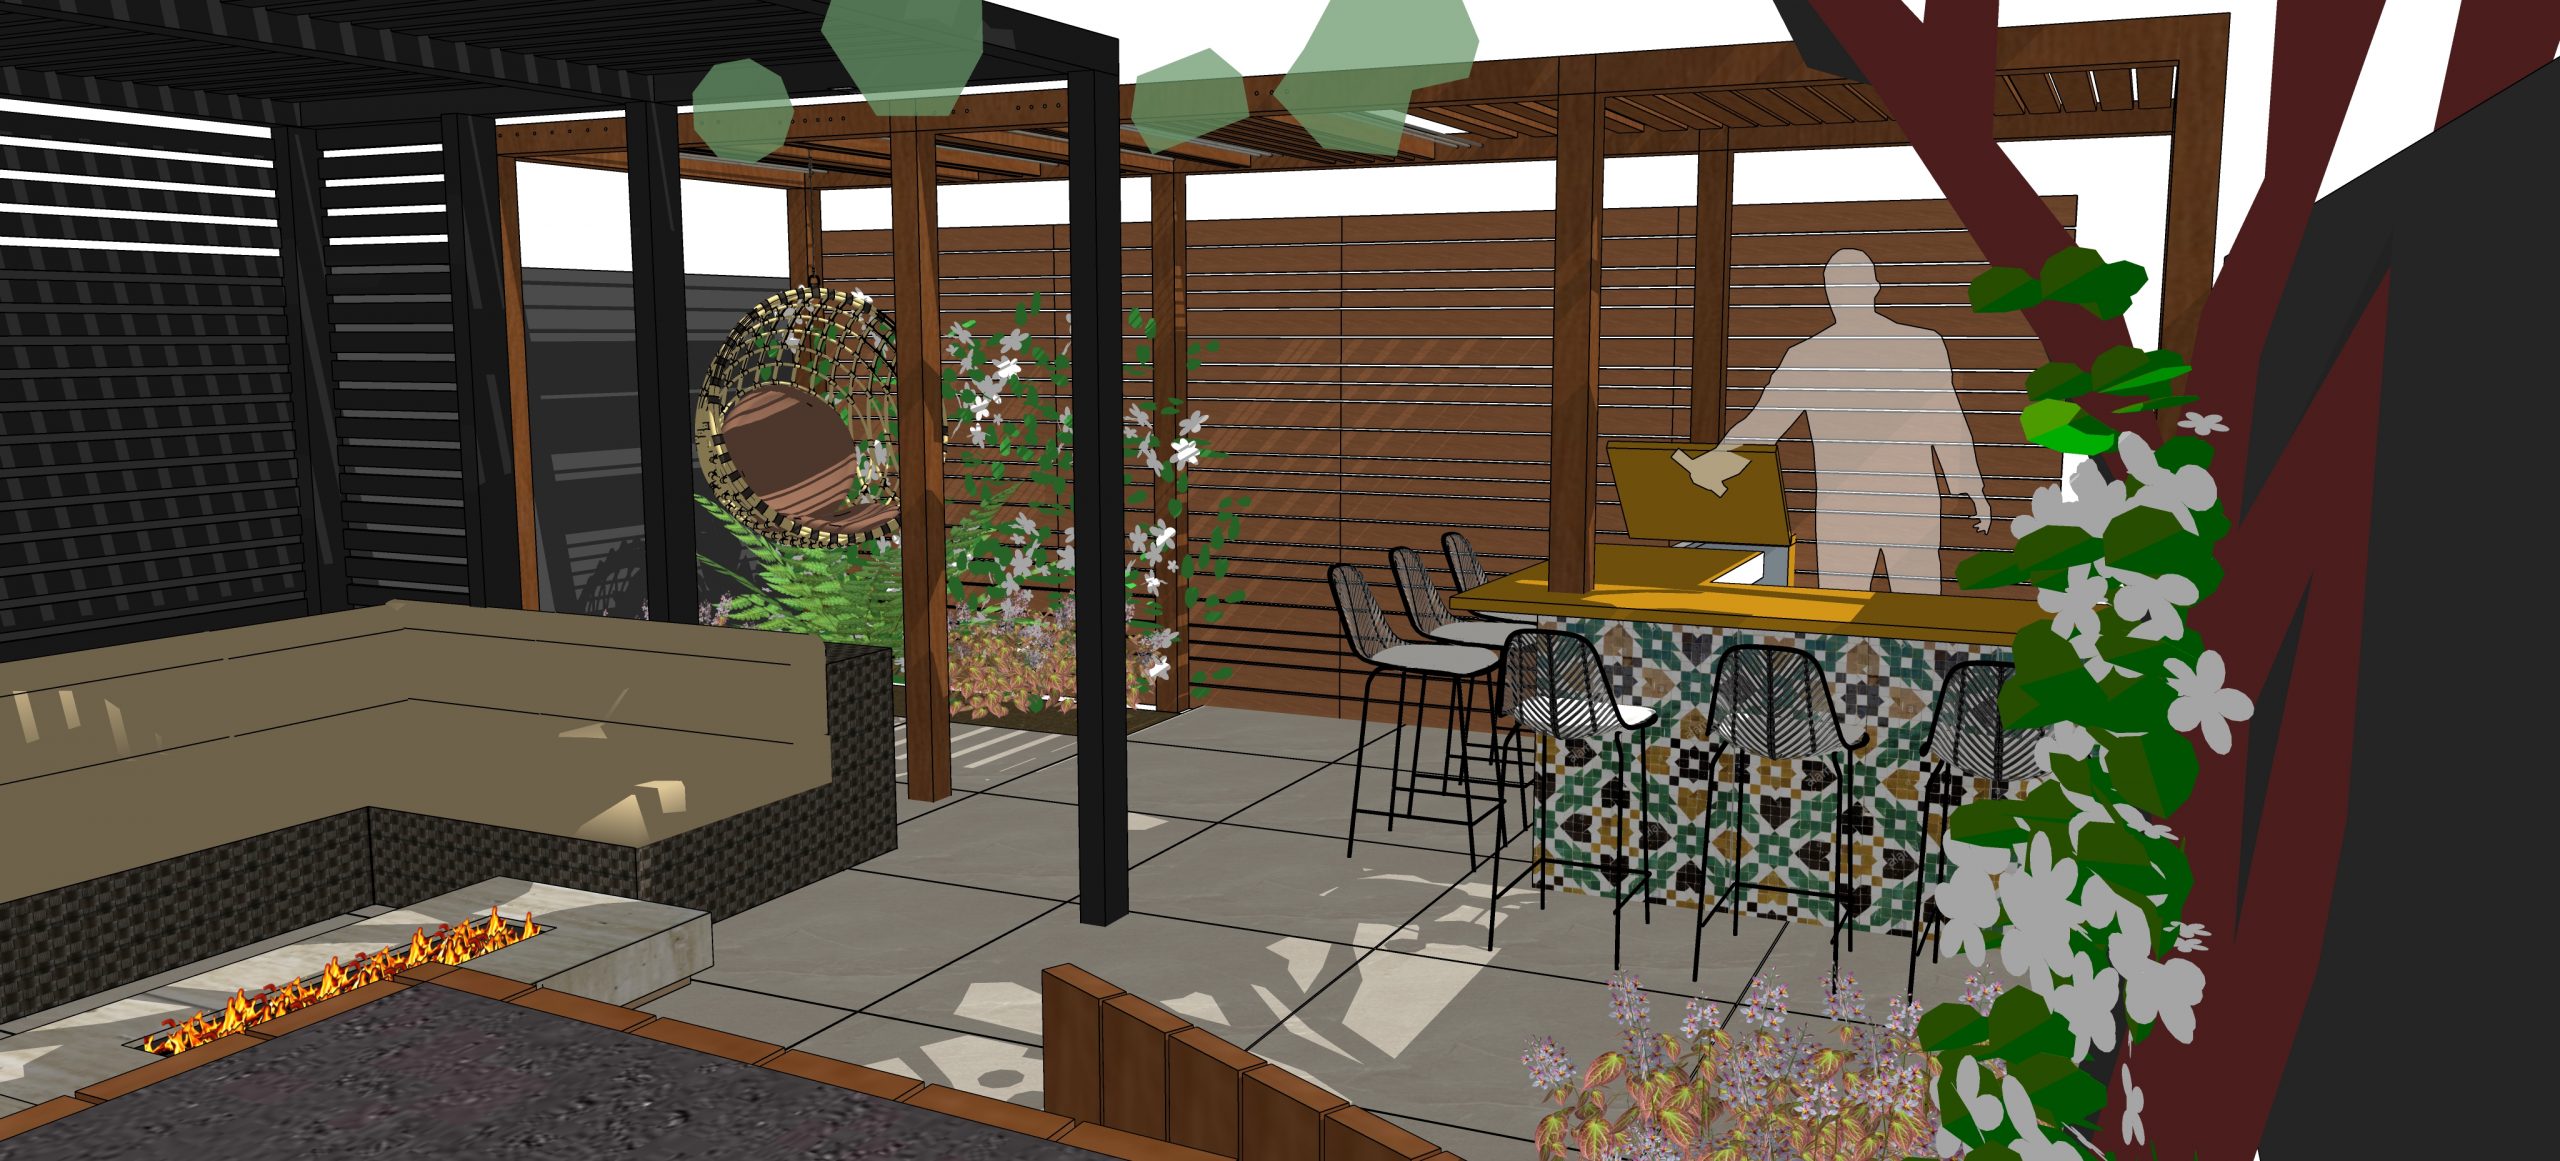
Swimming Pool Garden Design in Thorpe Bay
Swimming Pool Garden Design in Thorpe Bay Brief The client has recently purchased this large detached property and is
Leigh Family Garden Design
Leigh Family Garden Design Brief This client has had extensive building work done and is now turning their attention